12 Important Steps in Filling a New Pool with Water!
As an Amazon Associate, I earn from qualifying purchases.
Table of Contents
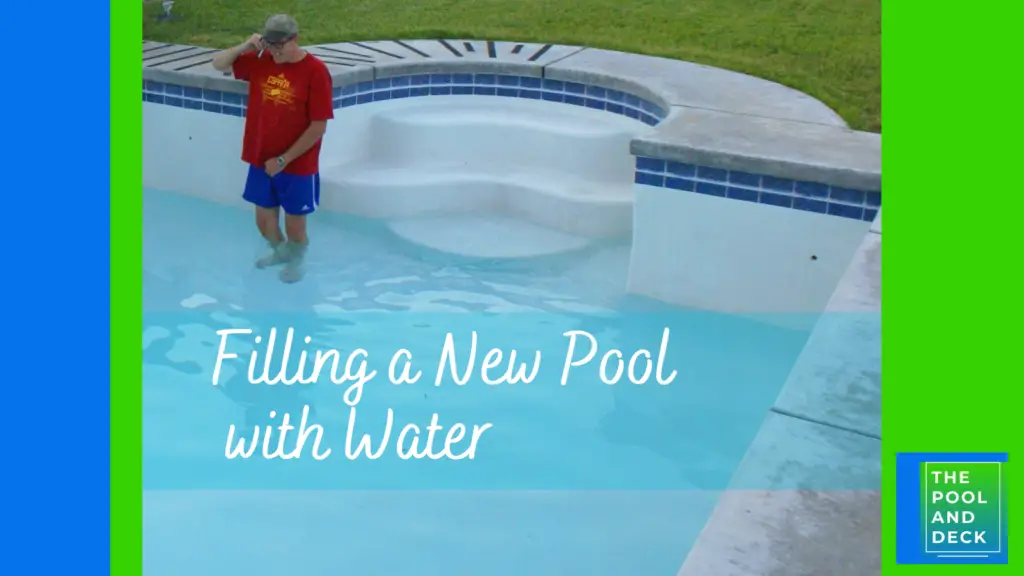
Filling a New Pool with Water!
Filling a new pool with water is an exciting moment, but proper preparation is key to ensure clean, balanced water from the start. Let your excitement not make you miss some of the crucial and essential steps outlined in this guide.
Main Steps in the Process
- Prepare pool for filling by removing debris and cleaning pool walls & floor.
- Inspect & Clean filtration system.
- Determine pool volume & Choose water source.
- Test pool water chemistry.
- Adjust alkalinity, pH, calcium, cyanuric acid, and chlorine in that order.
- Add supplementary pool chemicals.
Let me get into the details!
Preparing the Pool for Filling
Even before you turn on the tap, you need to prep the new pool to receive the fresh water. In other words, the pool should be as clean and pristine as the water it is about to receive.
STEP 1: Removing Debris
Now a new pool is not going to be completely clean just prior to the fill. It will certainly have dust, maybe even some debris, dry leaves and branches, dead birds or rats.
Whatever it is, you need to get all of the dust and debris out of the new pool using a broom and / or a vacuum.
STEP 2: Cleaning the Pool Walls & Floor
Next, rinse the pool walls with a hose scrub it to remove any algae, mold, or other buildup that may have formed. Use a pool brush or scrubbing pad along with a pool surface cleaner to clean thoroughly.
Go around cleaning the pool wall, section by section. Let the dirty water accumulate on the pool floor as ultimately you will need to clean it too!
Using the same technique as that for the pool walls start scrubbing the pool floor. Start with the steps at the shallow end and work your way towards the deep end.
Using a skimmer net and a pool vacuum to gradually get the debris and the dirty water out, as you progress towards the deep end. Finally scoop out the last traces of dirty water from the deep end.
Step 3: Inspect & Clean the Filtration System
Check and remove any debris such as dry leaves, from the skimmer baskets and pump strainer basket. You don’t want your filtration system clogging up on the first day of pool opening.
I am assuming that you have brand new filter and pump for your new pool and they have been correctly installed and tested.
If you are not too sure, ask the people who installed it to come over and inspect it before you start filling up the new pool with water.
Filling the Pool
Step 4: Determine Pool Volume
First things first. How much water do you need for filling a new pool? This of course depends on your pool size and shape. Use my Pool Volume Calculator to get an estimate.
As an example, an INTEX Ultra XTR Deluxe Above Ground Swimming Pool Set: 18ft x 52in will need over 8000 gallons of water. A larger, rectangular in-ground pool with dimensions (40’x20’x5′) will need nearly 30,000 gallons of water.
Step 5: Selecting the Water Source
When filling your new pool, you have 4 options for the water source.
City Tap Water with Garden Hose
- Pros: Convenient and readily available in urban areas. Typically treated with chlorine and meets safety standards for swimming pools.
- Cons: Slow process. May contain high levels of minerals or chemicals, requiring additional treatment.
Well Water Filling
- Pros: Often free or low cost. May contain fewer chemicals than city tap water.
- Cons: A slow process as well. Well water quality can vary widely, potentially containing high levels of minerals or contaminants. Requires testing and treatment.
Water Delivery Service
- Pros: Provides a large volume of water quickly, suitable for larger pools or areas with limited access to city tap water.
- Cons: Can be expensive, especially for larger pools. Quality of water may vary depending on the source.
Fire Hydrant Pool Fill
- Pros: Can provide a large volume of water quickly in emergency situations.
- Cons: May not be available or practical for routine pool filling. Needs Fire Department permission. Water quality may vary, and additional treatment may be necessary.
Figure out what works best for you! But keep in mind that depending on the pool size the first two methods could take 2-4 days while the other two methods will get the job done within a day.
NOTE: Always diffuse the water inflow so as to not damage the pool surface.
Adjusting Pool Water Chemistry
Step 6: Test the Pool Water
Before you can start adjusting the pool water chemistry to the ideal levels, you need to test the freshly filled pool water. Freshly filled water may contain contaminants or imbalanced chemical levels that can affect water quality and swimmer health.
By testing the water, you can identify any issues early and take corrective measures to maintain a clean and healthy pool environment. Use a reliable pool water test kit such as Taylor K-2005 Complete DPD 9-in-1 Test Kit.
Taylor K-2005 Complete DPD 9-in-1 Test Kit
Tests for free & total chlorine, bromine, pH, total alkalinity, total hardness, and cyanuric acid (CYA) levels.
When adding pool chemicals to a freshly filled pool you must follow the sequence outlined below. Following the suggested sequence will ensure you achieve the ideal pool water chemistry levels most efficiently.
Do you need access to all my Pool Chemical Calculators? Just click the button below:
Step 7: Alkalinity Adjustments:
Alkalinity is a pH buffer and pH affects the effectiveness of the sanitizer. As such, getting the alkalinity levels right is essential for stabilizing pH levels and preventing fluctuations.
Test the pool water using a pool water testing kit and adjust alkalinity levels using an alkalinity increaser or alkalinity decreaser as needed. Ideal alkalinity levels typically range from 80 to 120 ppm (parts per million).
Step 8: pH Adjustments:
Starting off with the ideal pH levels is essential to ensure swimmer comfort and prevent equipment corrosion. More importantly it ensures optimal performance of chlorine.
Test the pool water pH and adjust using pH increaser or pH decreaser to achieve the ideal range of 7.4 to 7.6.
Step 9: Calcium Adjustments:
Calcium hardness level affects water balance, etching and scaling. By maintaining the Calcium Hardness level between 200 to 400 ppm you can prevent plaster etching or scale formation.
Actually, it is best to test the source water before filling a new pool with water to ensure you do not start off on the wrong foot. Use my Pool Calcium Hardness Calculator to figure out how to bring the calcium hardness to the desired level.
Step 10: Cyanuric Adjustments:
Cyanuric acid stabilizes chlorine and protects it from UV degradation. Test cyanuric acid levels and adjust using cyanuric acid stabilizer to maintain levels between 30 to 50 ppm.
Step 11: Chlorine Adjustments:
Chlorine sanitizes pool water and kills bacteria and algae. It is a good idea to start off by shocking your new pool. This will ensure that all traces of pathogens such as bacteria and algae are neutralized.
After the shock treatment, take steps to bring the Free Chlorine (FC) levels to between 2-4 ppm, which is ideal. Use Trichlor tablets in floaters or skimmer baskets for regular maintenance level chlorination.
Step 12:Supplementary Pool Chemicals
After Step 11, the pool water chemistry will be balanced and at ideal levels. At this point it is recommended that you add certain pool chemicals to improve water clarity and sanitization efficiency.
I recommend adding:
- Algaecide: Algaecide does not kill algae but it helps chlorine in killing the algae by making it weak and vulnerable!
- Clarifier: A clarifier will add a sparkle to your pool water!
- Sequestering Agents: These help to control pesky metals and minerals that may be present in the fresh pool water.
You are all set to make a splash! Invite your friends and family to a pool opening party and dive in!
Thank you very much for reading the post. I do hope you found it informative and helpful.


