How to Build a Wrap-Around Deck: Space Flow Done Right!
As an Amazon Associate, I earn from qualifying purchases.
Table of Contents
How to Build a Wrap-Around Deck that Adds Value
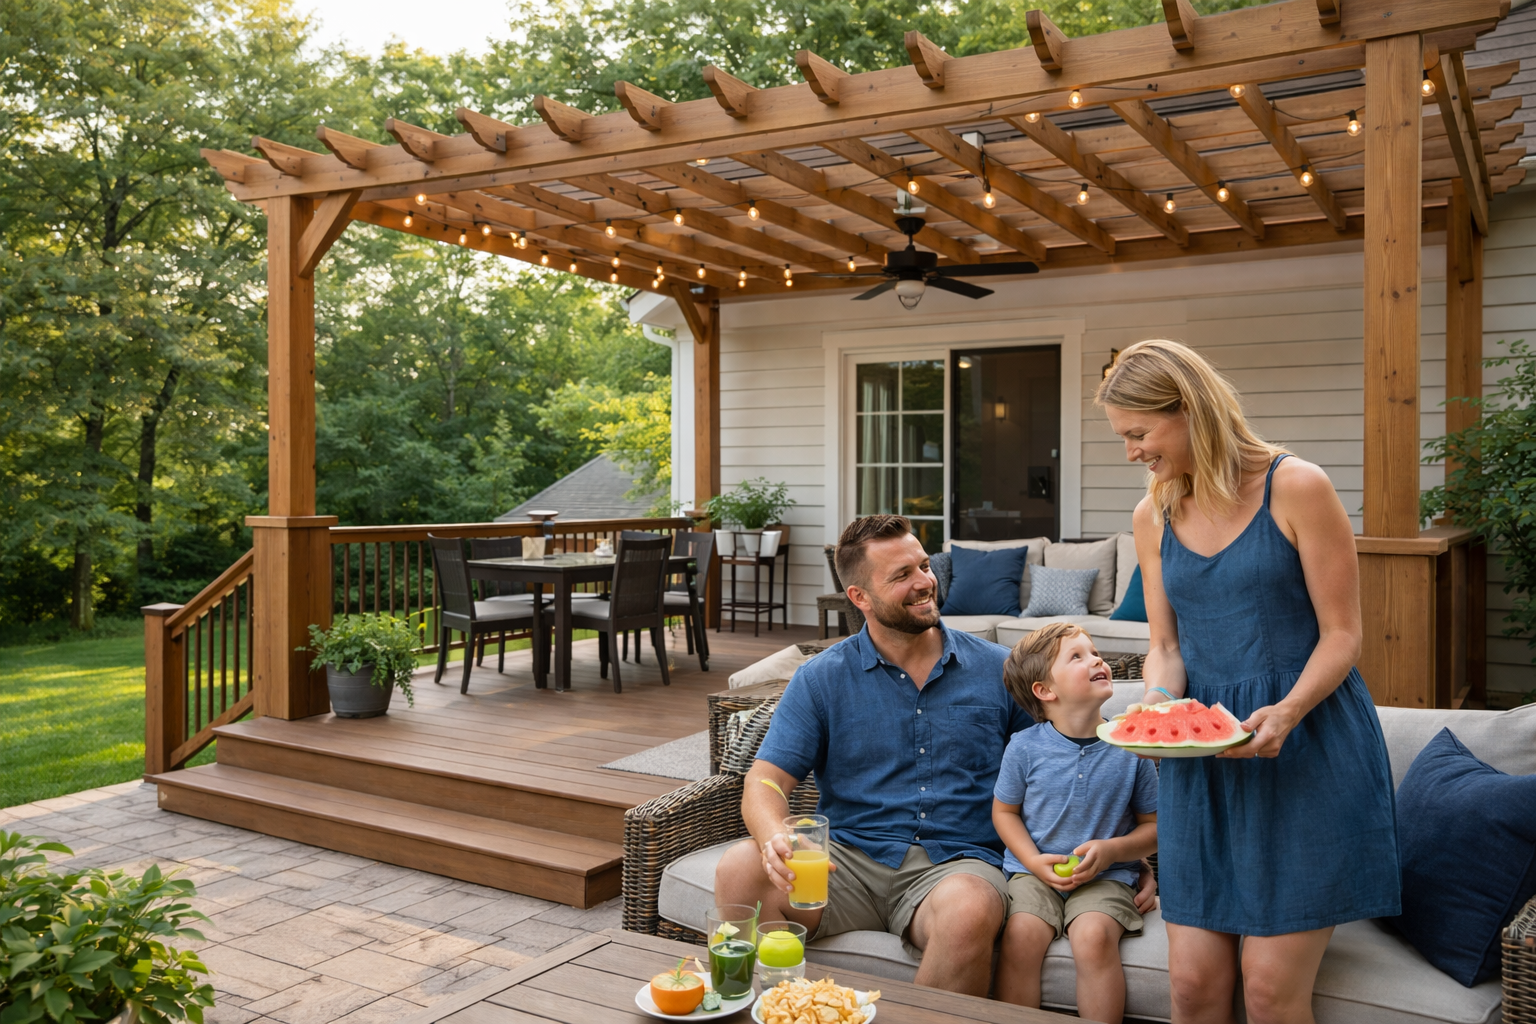
A wrap-around deck makes a statement. It changes how a house feels and how people move through outdoor space. When it’s done well, it looks like it was always meant to be there. When it’s done poorly, it feels awkward, uneven, and expensive to fix.
This type of deck is more complex than a standard rectangle. It has more corners, more transitions, and more structural demands. That means planning matters even more than usual.
This guide walks you through the basics of how to build a wrap-around deck from start to finish.
However, for actionable, location-based bill of materials, cost estimates, and a pro-level PDF, you need the DeckMaster AI. Click on the image below to get it!

Use this guide and Best Practices on How to Build a Deck to learn the fundamentals. Use DeckMaster AI to build “your” deck with confidence.
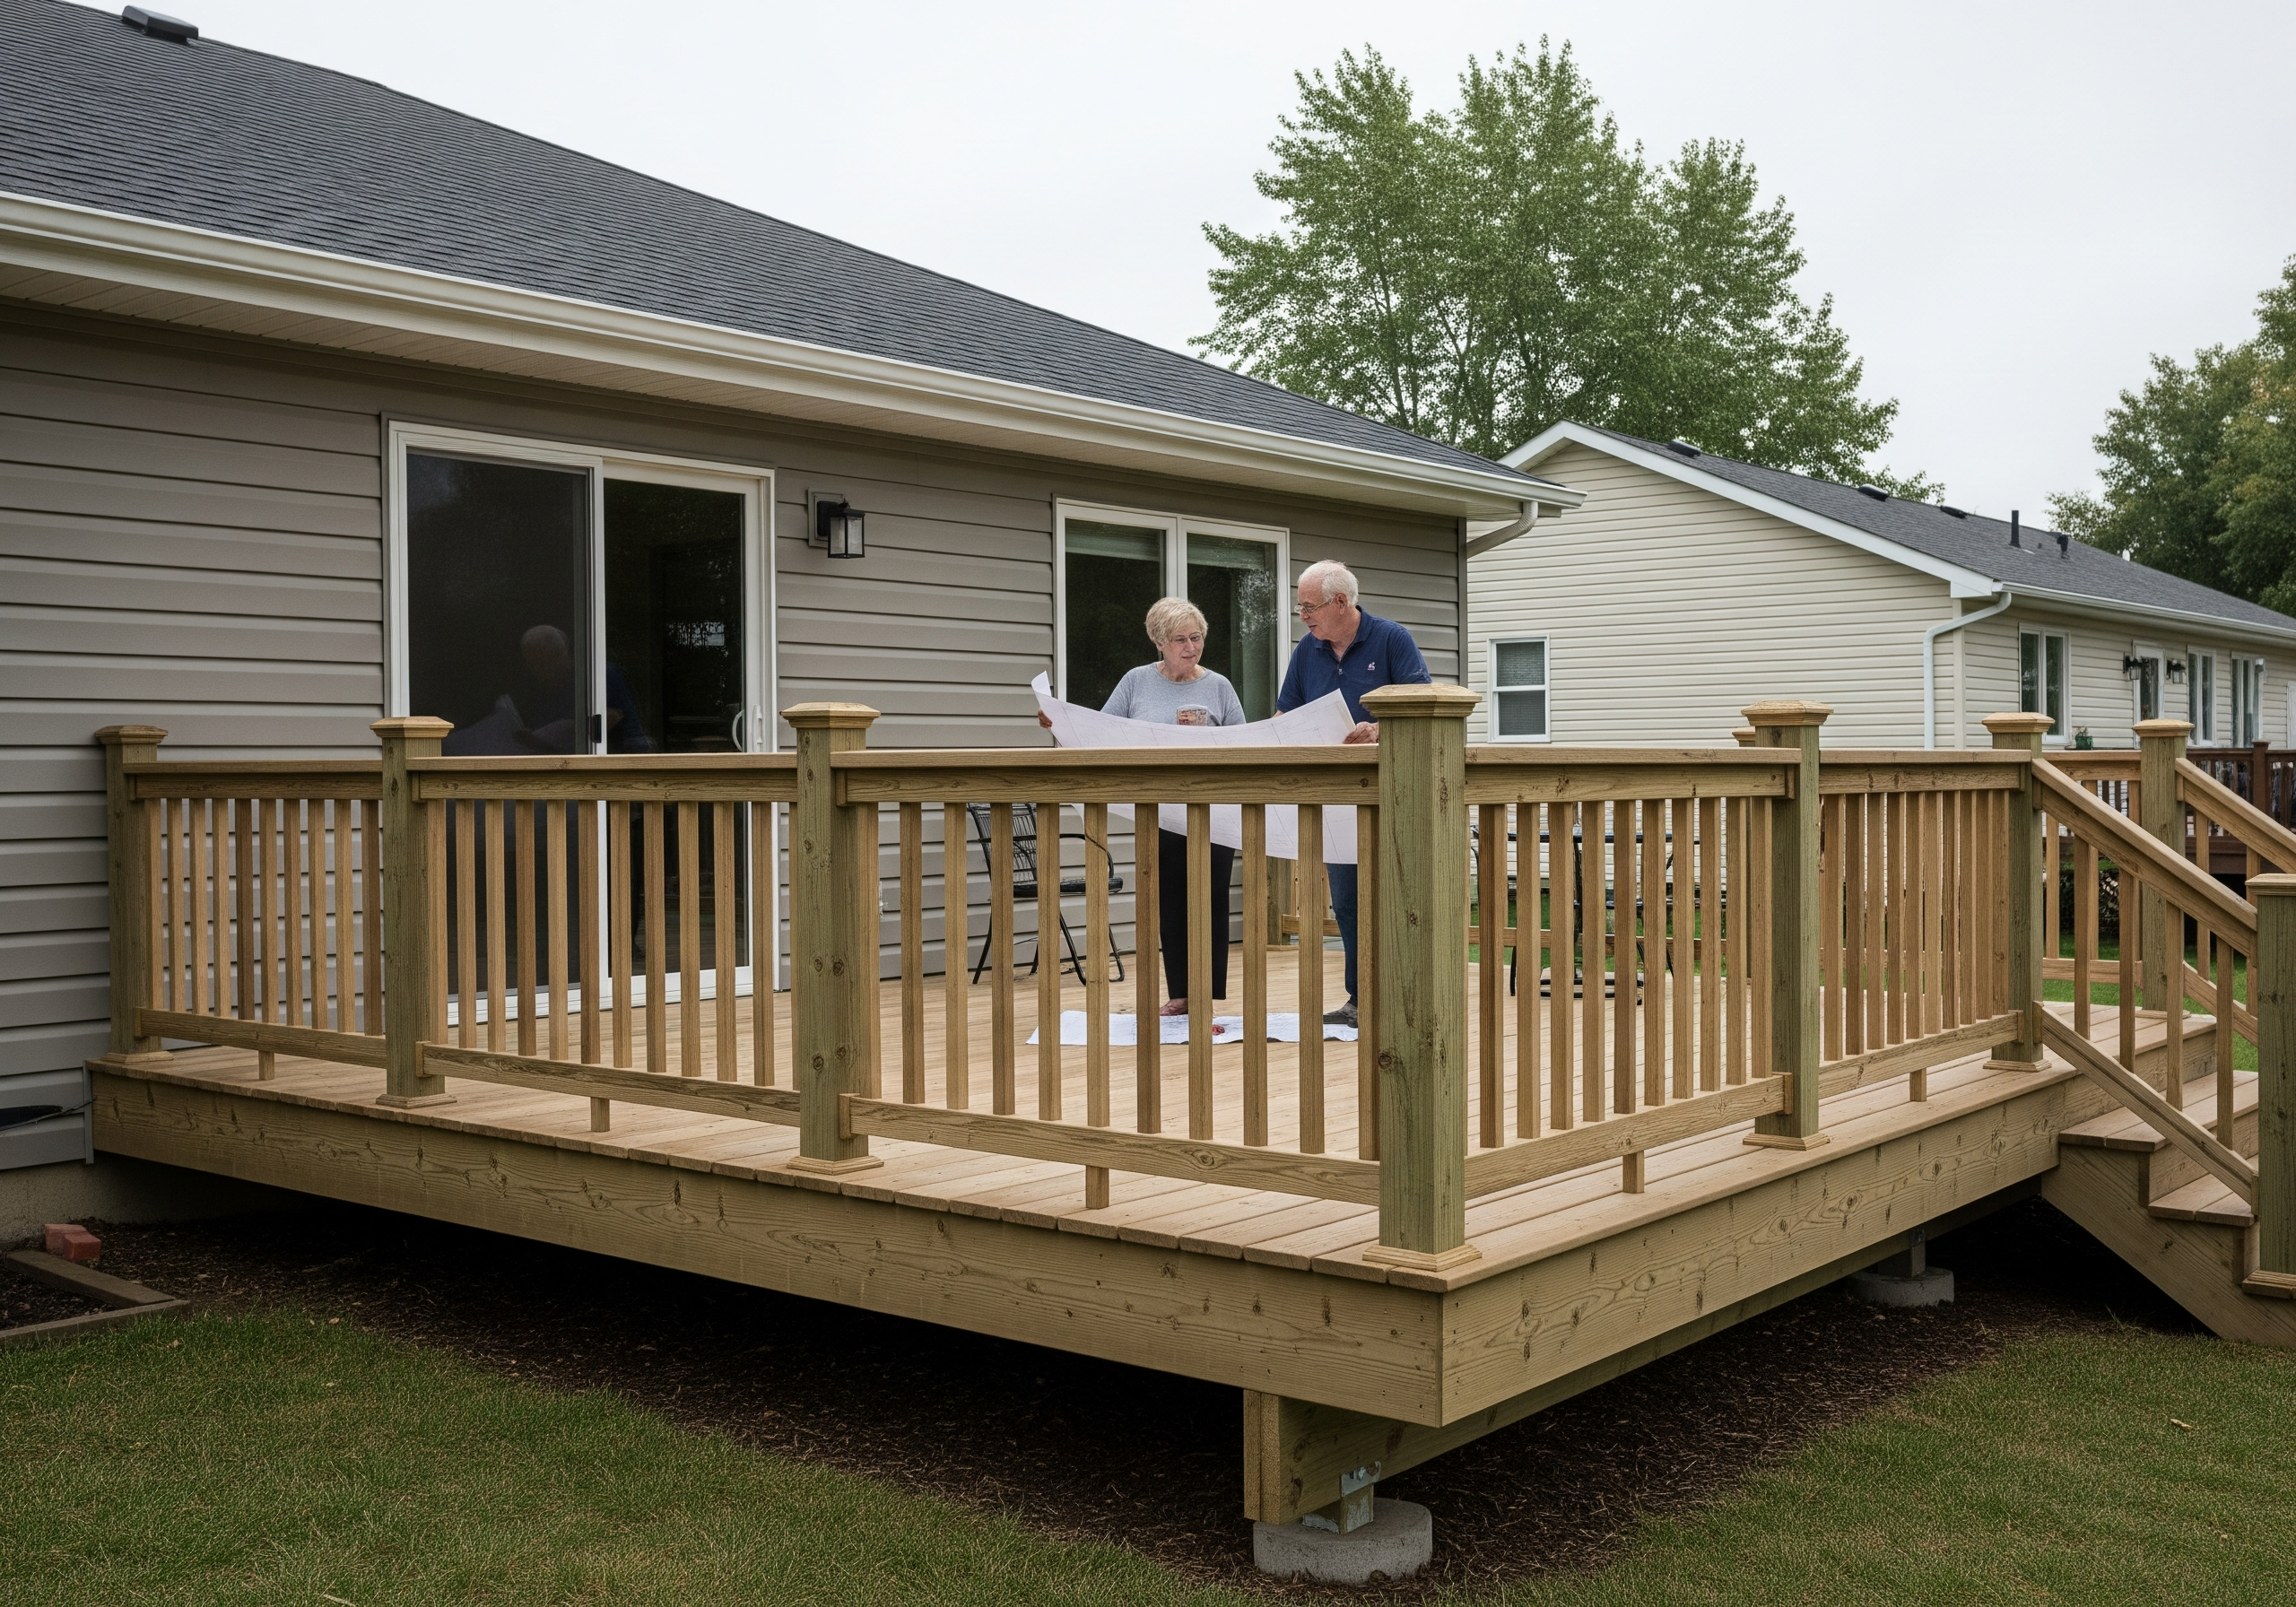
Designing a Wrap-Around Deck
Design is where most wrap-around decks succeed or fail. You’re not just building a deck. You’re tying multiple sides of a house together.
Layout and Flow Around the House
Start by thinking about movement. Ask yourself:
- Where do people enter the deck?
- Which doors will be used most?
- Where should stairs land?
A wrap-around deck should guide people naturally. You don’t want dead ends or tight corners that feel forced. Walk the perimeter of the house and picture how the deck will connect each side.
Budget and Material Considerations
Wrap-around decks use more materials than most homeowners expect. Costs increase due to:
- Longer beams and more footings
- Additional railings and stairs
- More decking and trim work
Simple shapes and consistent materials help control costs. Changing elevations or materials mid-run adds complexity fast.
Permits and Structural Planning
Because wrap-around decks are larger and often elevated, permits are almost always required.
Load Requirements and Code Basics
Local codes typically address:
- Live load capacity
- Guardrail height and spacing
- Stair and landing requirements
- Footing depth and spacing
Wrap-around decks may be inspected in sections. Each section must meet code on its own.
Dealing With Uneven Ground
Many wrap-around decks follow sloped or irregular terrain. You may need:
- Varying post heights
- Stepped footings
- Multiple beam elevations
Plan these changes early. Adjusting them after framing starts is difficult and costly.
Foundation and Footings
The foundation supports everything. With a wrap-around deck, footing placement must be precise.
Footing Placement Around Corners
Corners are high-stress points. Best practices include:
- Placing footings close to the inside and outside corners
- Aligning footings so beams meet cleanly
- Avoiding long cantilevers around turns
If the footing layout is sloppy, the deck will feel uneven no matter how well it’s finished.
Consistency Across Sections
Even though the deck wraps around the house, it should behave as one structure. That means:
- Matching footing depths
- Using consistent beam sizes
- Keeping elevations aligned where sections meet
Consistency prevents uneven settling over time.
Framing the Wrap-Around Deck
Framing is where wrap-around decks get technical. This is not the place to rush.
Connecting Multiple Deck Sections
Each side of the house may feel like its own deck, but they must work together. Key considerations:
- Beams should meet cleanly at corners
- Joists must align or be properly blocked
- Load paths must remain continuous
Blocking at transitions adds stiffness and helps keep railings solid.
Ledger Boards and Freestanding Sections
Some wrap-around decks attach to the house. Others don’t. In many cases:
- One or two sides use ledger boards
- Other sections are freestanding due to windows, brick, or grade
Transitions between attached and freestanding sections must allow for movement without pulling apart.
Installing Deck Boards
Deck boards define the look of a wrap-around deck more than anything else.
Board Patterns and Picture Framing
Straight runs are simplest, but corners create visual breaks. Popular options include:
- Mitered picture framing at corners
- Continuous border boards around the perimeter
- Direction changes at natural transitions
Take time to dry-fit boards at corners. Small mistakes here stand out.
Expansion and Movement
Long runs of decking expand and contract. To manage this:
- Follow manufacturer spacing guidelines
- Avoid trapping boards against walls
- Leave room at the corners for movement
Ignoring expansion leads to buckling and gaps.
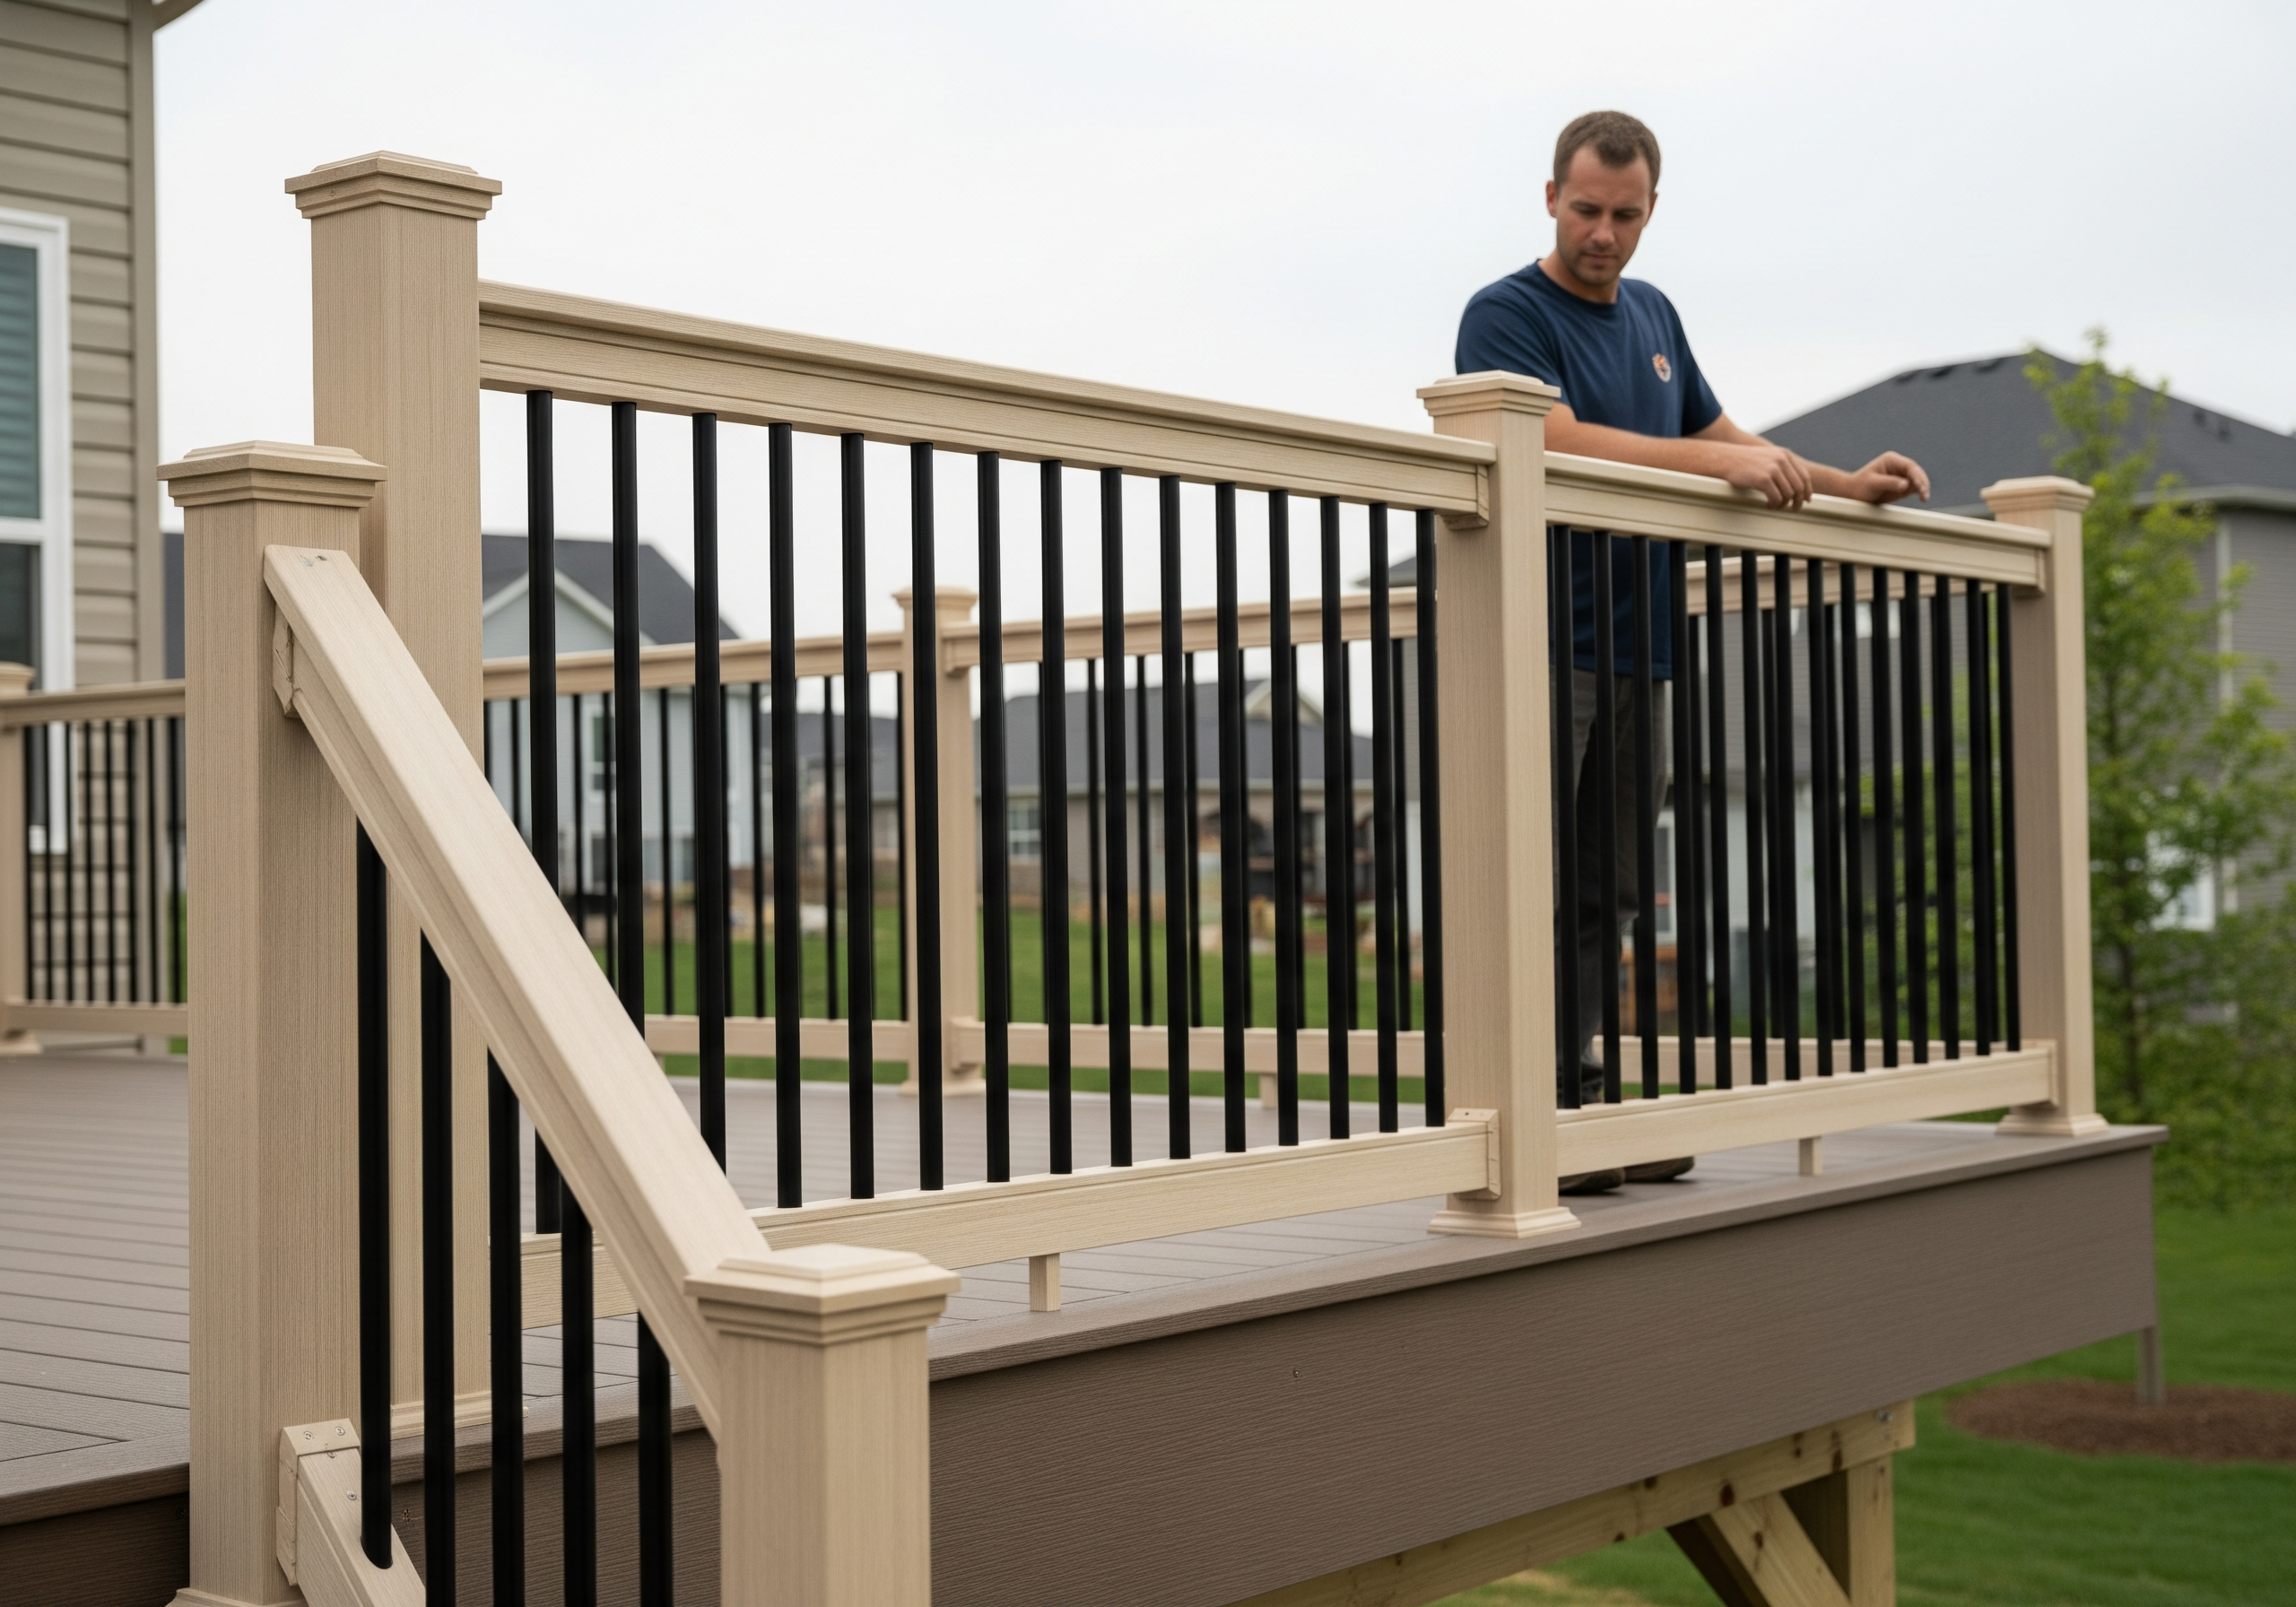
Railings, Stairs, and Transitions
Wrap-around decks usually need more than one stair and railing section.
Corner Railings and Post Placement
Railing posts at corners must be especially strong. That means:
- Posts tied into framing, not surface-mounted
- Blocking under deck boards at post locations
- Clean transitions between railing sections
Weak corner posts are a common failure point.
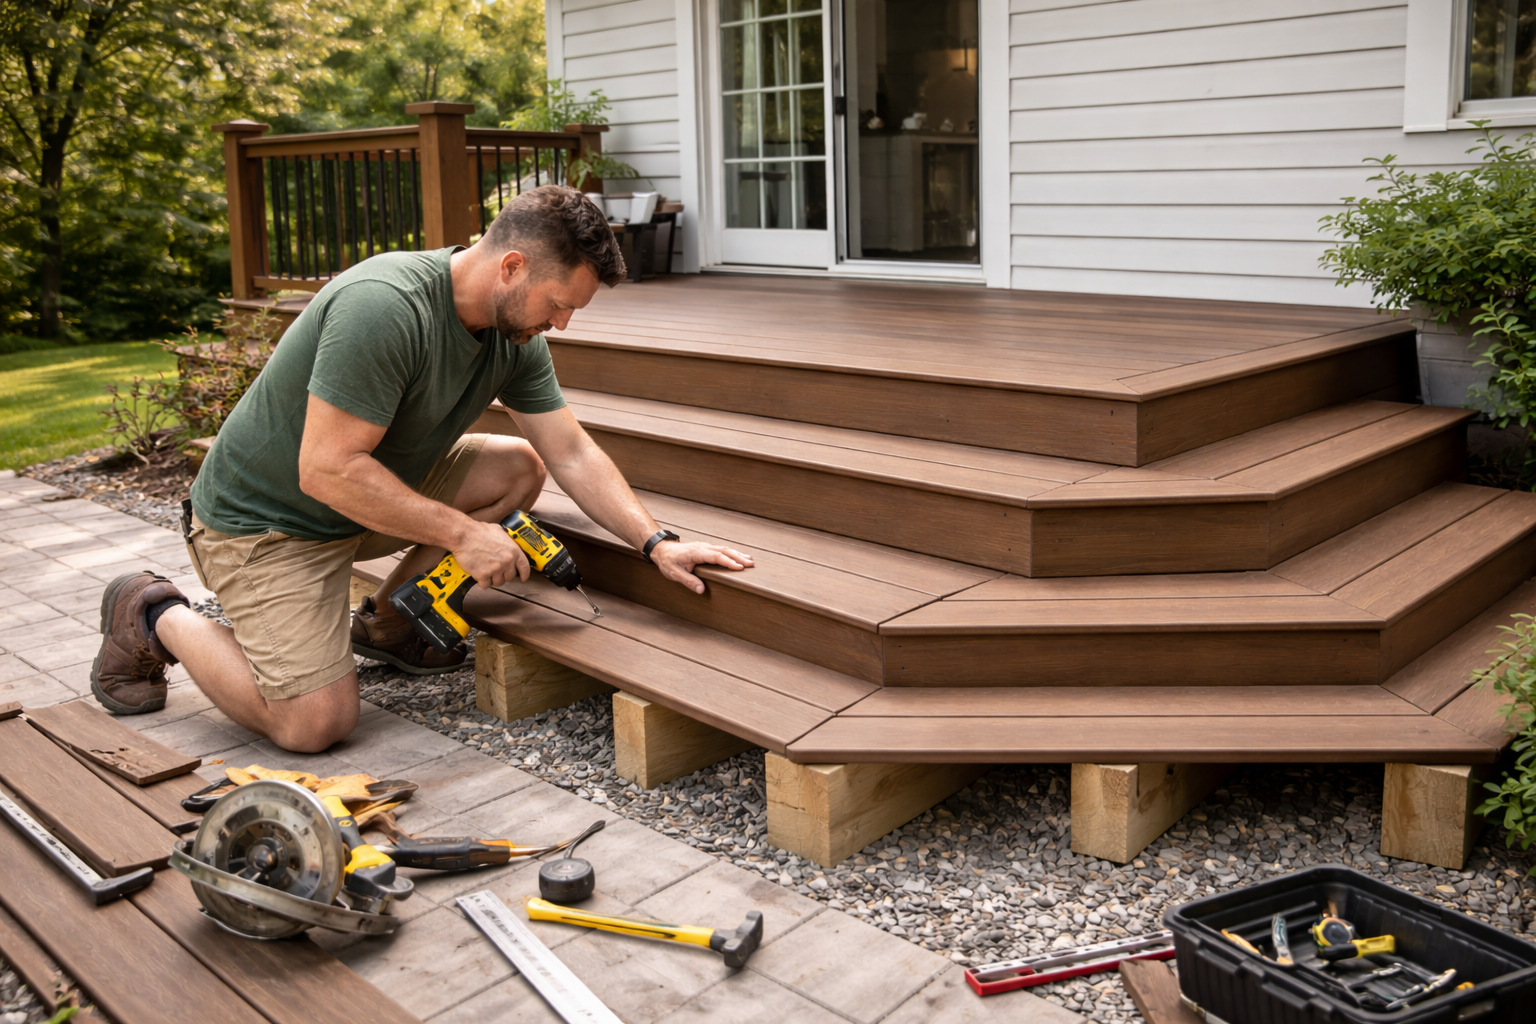
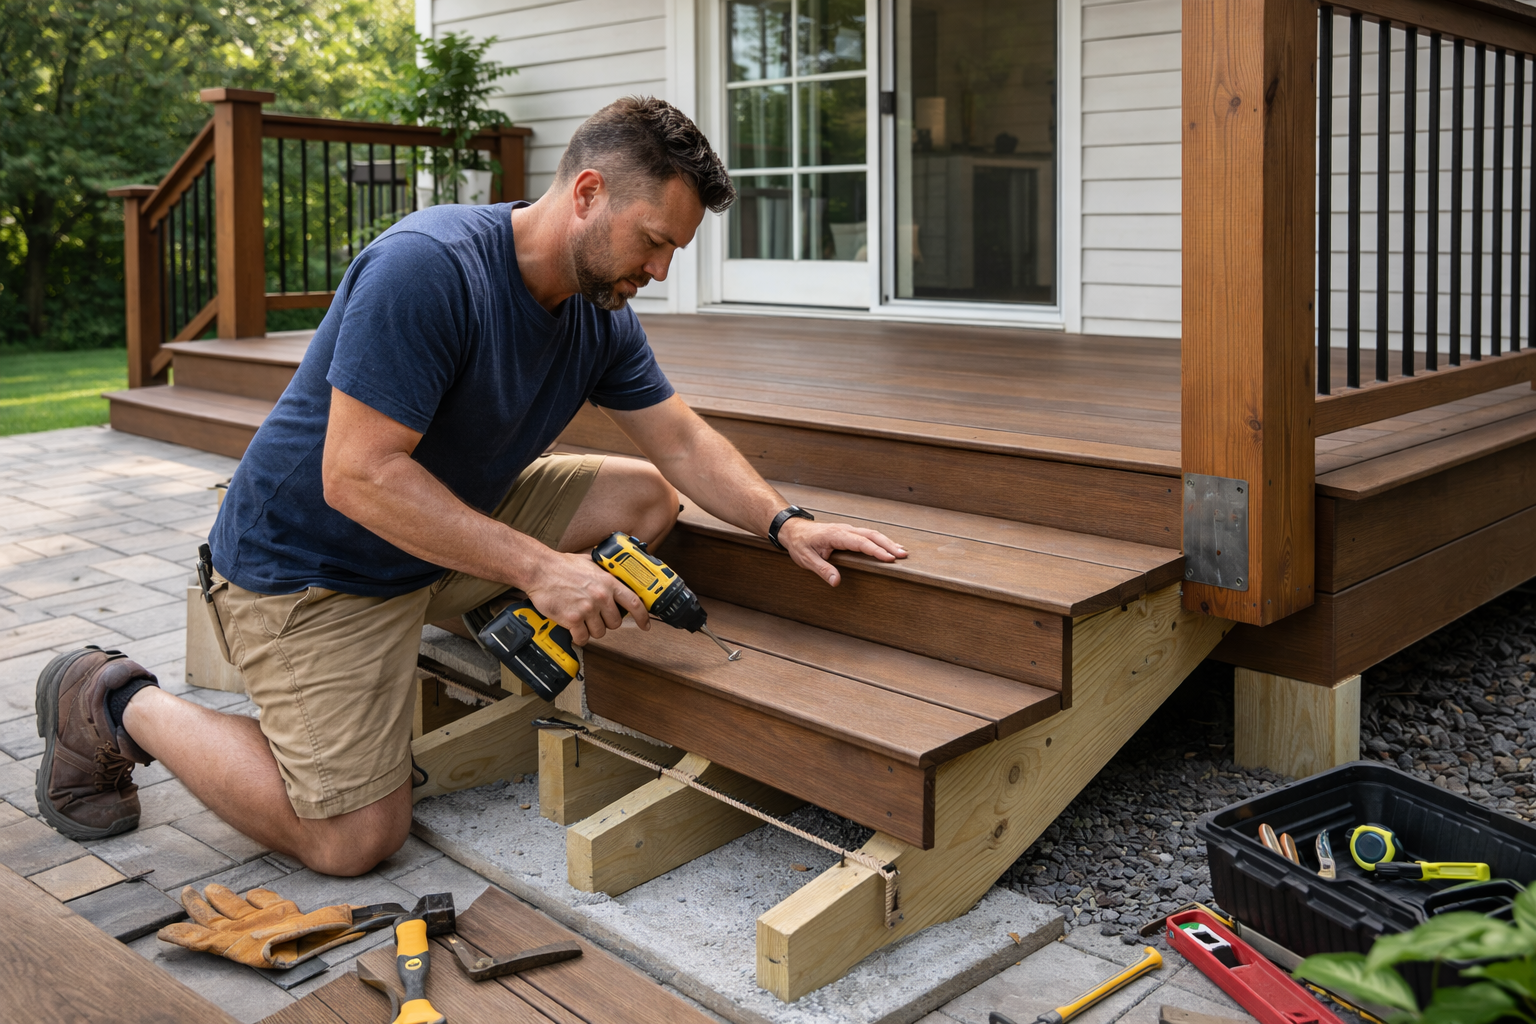
Multiple Stair Locations
Wrap-around decks often benefit from more than one stair. This improves:
- Traffic flow
- Emergency access
- Visual balance
Each stair must meet code independently. Consistency in rise and run is critical.
Finishing Details That Matter
Details are what separate a wrap-around deck from a basic build.
Fascia, Trim, and Skirting
Wrap-around decks expose more edges. Use fascia to:
- Hide framing
- Protect joist ends
- Create clean lines around corners
Skirting can be added for appearance or storage, but always allow airflow.
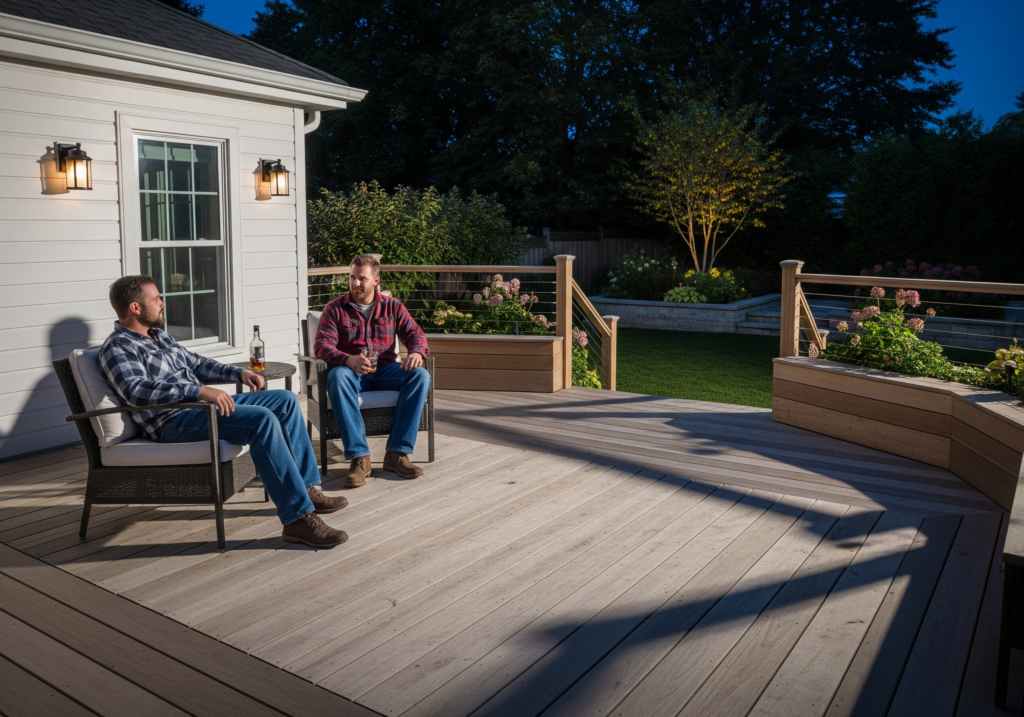
Lighting and Usability
Low-voltage lighting improves safety and usability. Good locations include:
- Stair treads
- Entry points
- Long walking paths
Plan wiring early to avoid surface-mounted fixes later.
Maintenance and Long-Term Care
Wrap-around decks require consistent maintenance due to their size.
Cleaning and Inspection
At least once a year:
- Wash the deck
- Check railings and stairs
- Inspect corners and transitions
These areas see the most movement and wear.
Managing Moisture and Debris
Because the deck wraps the house:
- Leaves and debris collect easily
- Shaded areas stay wet longer
Keep these areas clear to prevent rot and mold.
Common Mistakes to Avoid
Wrap-around decks magnify small errors. Avoid:
- Inconsistent footing spacing
- Poor corner framing
- Ignoring expansion gaps
- Treating each side as a separate deck
Everything must work together.
A well-built wrap-around deck feels balanced and intentional. It guides movement, frames the house, and creates usable space on every side.
If you focus on layout, build strong corners, and respect how the structure moves as one, the result is a deck that looks complex but feels effortless to use.
If building a wrap-around deck seems too complicated and costly, you can always go for a simpler version, such as an attached or detached deck.