How to Build a Pressure-Treated Deck: Durable & Affordable!
Pressure-treated lumber remains one of the most common deck-building materials. It’s affordable, widely available, and strong enough for almost any residential deck.
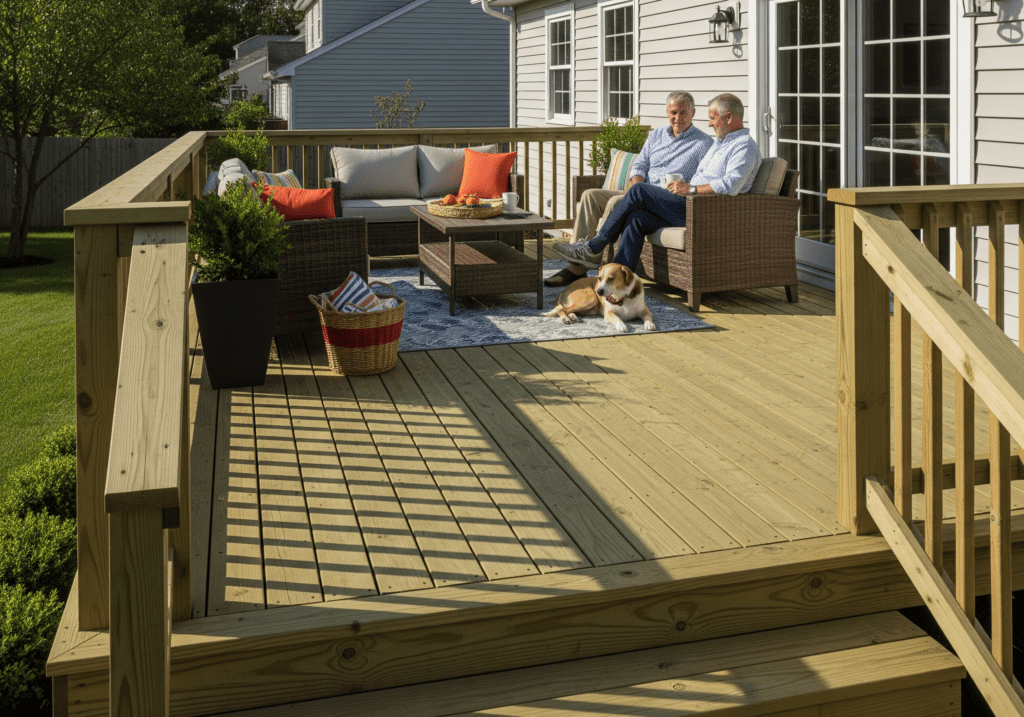
When built correctly, a pressure-treated deck can last decades. When built poorly, it starts to twist, crack, and sag much sooner.
This article explains how to build a pressure-treated deck the right way.
The fundamentals overlap with How to Build an Attached Deck, How to Build an Elevated Deck, and How to Build a Ground-Level Deck, but pressure-treated lumber has its own quirks that you need to respect.
For actionable, location-based bill of materials, cost estimates, and a pro-level PDF, you need the DeckMaster AI. Click on the image below to get it!

Use this guide and Best Practices on How to Build a Deck to learn the fundamentals. Use DeckMaster AI to build “your” deck with confidence.
Table of Contents
What Is Pressure-Treated Lumber?
Pressure-treated wood is lumber infused with preservatives to resist rot, insects, and decay.
How Pressure Treatment Works
The wood is placed in a pressure chamber where preservatives are forced deep into the fibers.
That process:
- Improves resistance to moisture and insects
- Makes the lumber suitable for outdoor use
- Leaves the wood wetter and heavier at purchase
Fresh pressure-treated lumber behaves differently than dry wood.
When Pressure-Treated Is the Right Choice
Pressure-treated decking is a solid option when:
- Budget matters
- Structural strength is a priority
- You plan to stain or paint later
- The deck is close to the ground
It’s commonly used for framing even when other decking materials are chosen.
Planning a Pressure-Treated Deck
Good planning prevents common wood-related problems.
Budget and Material Selection
Pressure-treated lumber is affordable, but costs still add up. Plan for:
- Decking boards
- Framing lumber
- Hardware rated for treated wood
- Finishing products
Cheap fasteners cost more later.
Deck Layout and Design
Pressure-treated boards move as they dry. Design with:
- Straight board runs
- Room for expansion and shrinkage
- Simple patterns that tolerate movement
Overly tight layouts lead to gaps and warping.
How to Build a Pressure-Treated Deck With Proper Framing
Framing is where pressure-treated wood shines.
Joist Spacing and Structural Support
Typical spacing includes:
- 16 inches on center for most decks
- 12 inches on center for diagonal layouts
Follow the same structural guidelines used in How to Build an Elevated Deck.
Selecting Straight Lumber
Not all boards are equal. At the yard:
- Sight down each board
- Avoid excessive crown or twist
- Choose the straightest lumber available
This saves time and frustration later.
Attaching a Pressure-Treated Deck to a House
Most pressure-treated decks are attached structures.
Ledger Board Installation
Follow the same rules outlined in How to Build an Attached Deck.
That includes:
- Structural fasteners into house framing
- Proper flashing above and behind the ledger
- Clearance between deck and siding
Water management matters more than material choice.
Hardware Compatibility
Pressure-treated lumber requires compatible hardware. Use:
- Hot-dipped galvanized fasteners
- Stainless steel connectors where required
- Approved joist hangers
Standard steel corrodes quickly in treated wood.
Installing Pressure-Treated Deck Boards
Deck board installation requires patience.
Spacing for Wet Lumber
Pressure-treated boards are often installed wet. Common practices include:
- Installing boards tight together
- Allowing gaps to form as boards dry
- Following manufacturer recommendations
Do not force dry spacing on wet boards.
Fastening Methods
Most pressure-treated decks use surface fasteners. Best options include:
- Exterior-rated deck screws
- Coated or stainless fasteners
- Consistent fastening patterns
Avoid nails for decking whenever possible.
Drying, Shrinkage, and Movement
Pressure-treated wood changes over time.
What to Expect After Installation
As the wood dries:
- Boards shrink
- Gaps appear
- Minor twisting may occur
This is normal behavior, not failure.
Timing Stain or Sealant
Never finish pressure-treated wood too early. Wait until:
- The wood has dried
- Moisture content has dropped
- Water no longer beads on the surface
This can take weeks or months depending on climate.
Edges, Trim, and Finish Details
Finished work improves durability and appearance.
Fascia Boards and Skirting
Pressure-treated fascia protects the frame. Best practices include:
- Leaving ventilation gaps
- Sealing cut ends
- Keeping wood off soil
Skirting should allow airflow underneath the deck.
Stairs and Handrails
Stairs take more abuse than flat decking. Pay attention to:
- Proper stringer spacing
- Secure handrail attachment
- Code-compliant rise and run
Pressure-treated lumber is ideal for stairs when built correctly.
Railings for Pressure-Treated Decks
Railings must be safe and secure.
Railing Material Options
Pressure-treated decks pair well with:
- Matching wood railings
- Metal balusters
- Composite railing systems
Choose materials that meet code and resist corrosion.
Structural Rail Post Attachment
Rail posts must attach to framing, not decking. This rule applies whether the deck is:
- Ground-level
- Elevated
- Built on a slope
Safety does not change with height.
Pressure-Treated Decks in Different Applications
Pressure-treated lumber is versatile.
Ground-Level and Low Decks
Pressure-treated decks work well close to grade. Extra care is needed for:
- Drainage
- Ventilation
- Ground contact avoidance
Never let boards sit directly on soil.
Elevated and Sloped Decks
Pressure-treated framing excels in elevated builds. It’s commonly used for:
- Elevated Decks
- Decks on a Slope
- Multi-level Decks
Strength and availability make it a practical choice.
Maintenance and Long-Term Care
Pressure-treated decks require regular upkeep.
Cleaning and Inspection
Plan to:
- Sweep debris regularly
- Wash the surface annually
- Inspect fasteners and connections
Small issues grow when ignored.
Staining and Sealing
Finishing improves longevity. Options include:
- Semi-transparent stains
- Solid stains
- Water-repellent sealers
Reapply as needed based on exposure.
Common Pressure-Treated Deck Mistakes
Most failures come from shortcuts. Avoid:
- Using the wrong fasteners
- Skipping flashing
- Installing boards too tight when dry
- Finishing too soon
Pressure-treated wood rewards patience.
Final Thoughts
A pressure-treated deck offers strength, affordability, and flexibility. It’s forgiving in some ways and demanding in others. The key is understanding how the wood behaves over time and building with that movement in mind.
By following solid framing practices from How to Build an Attached Deck, applying spacing rules correctly, and committing to ongoing maintenance, you can build a pressure-treated deck that performs well and looks good for many years. Built right, it remains one of the most reliable deck options available.