How to Build a Cedar Deck: Natural Beauty, Smart Construction
As an Amazon Associate, I earn from qualifying purchases.
Table of Contents
How to Build a Cedar Deck that is Simply Awesome!
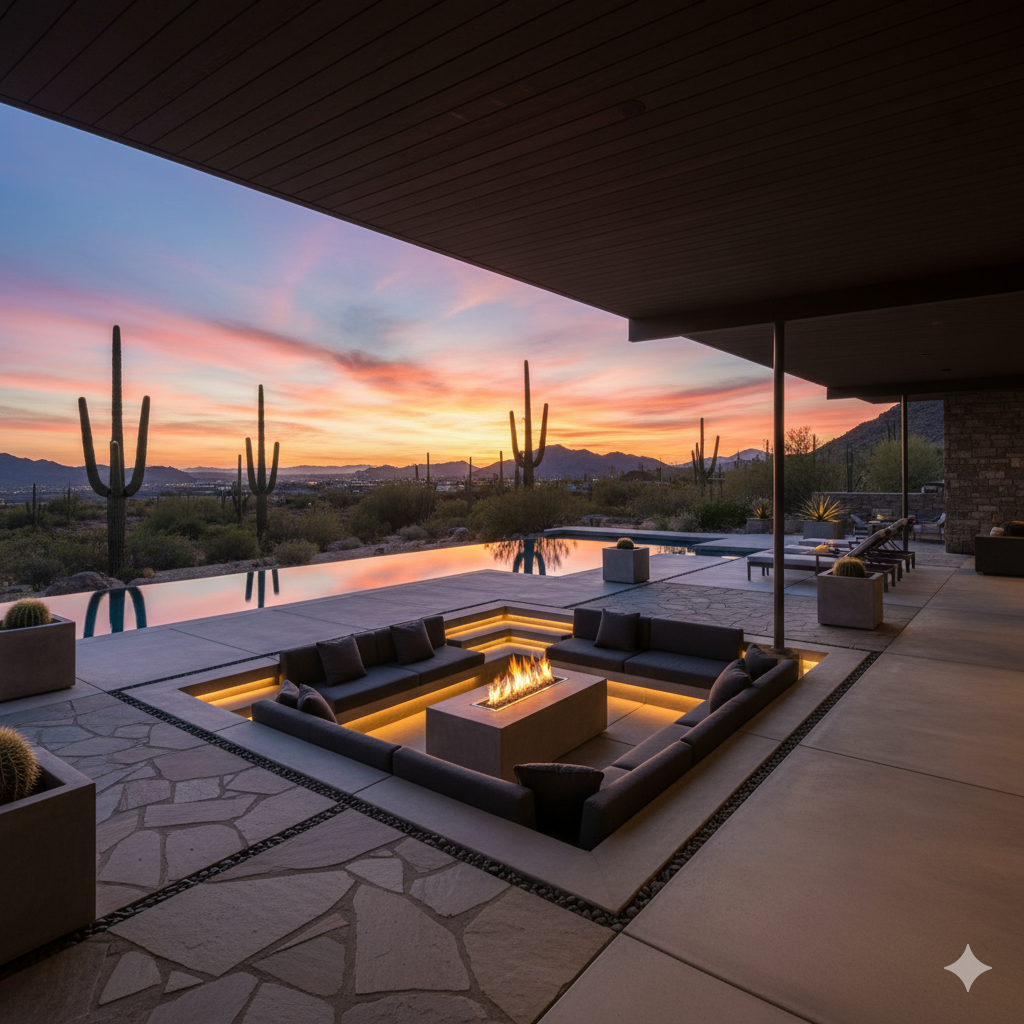
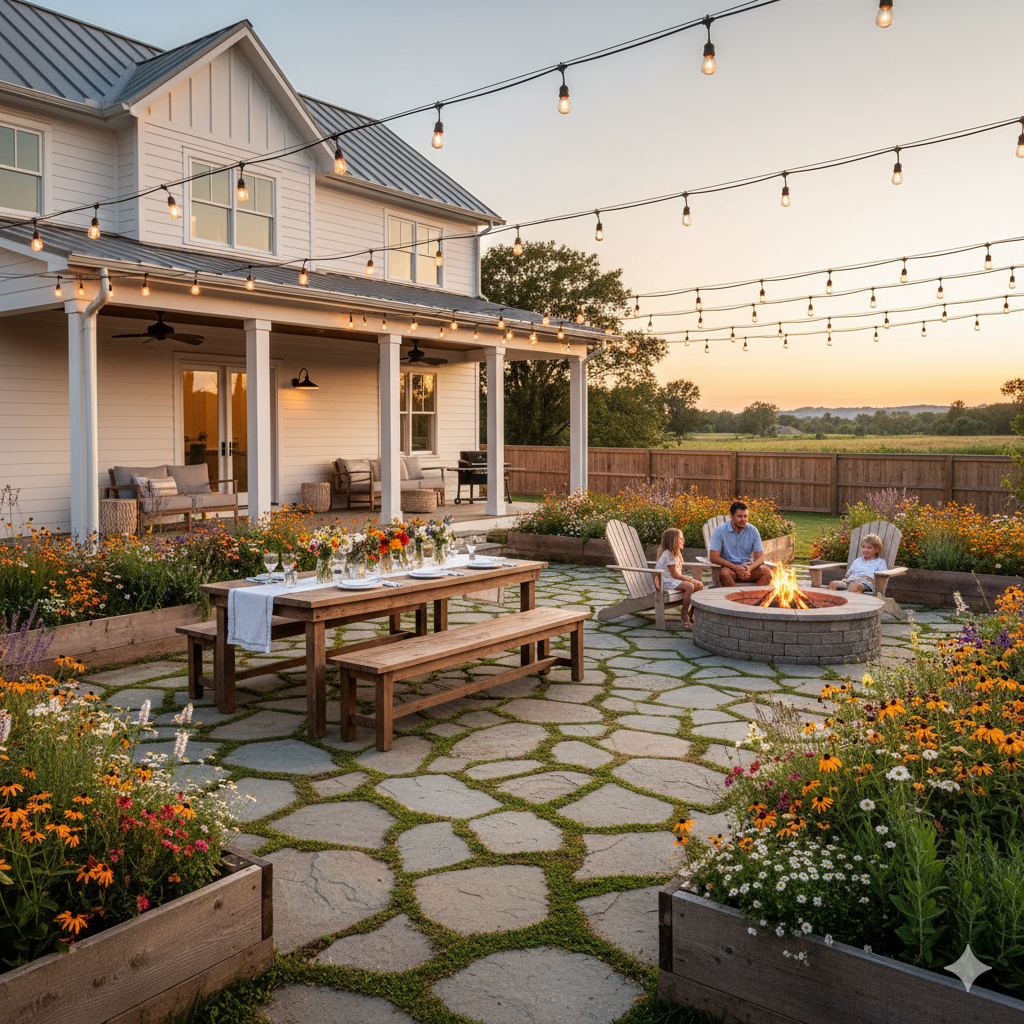
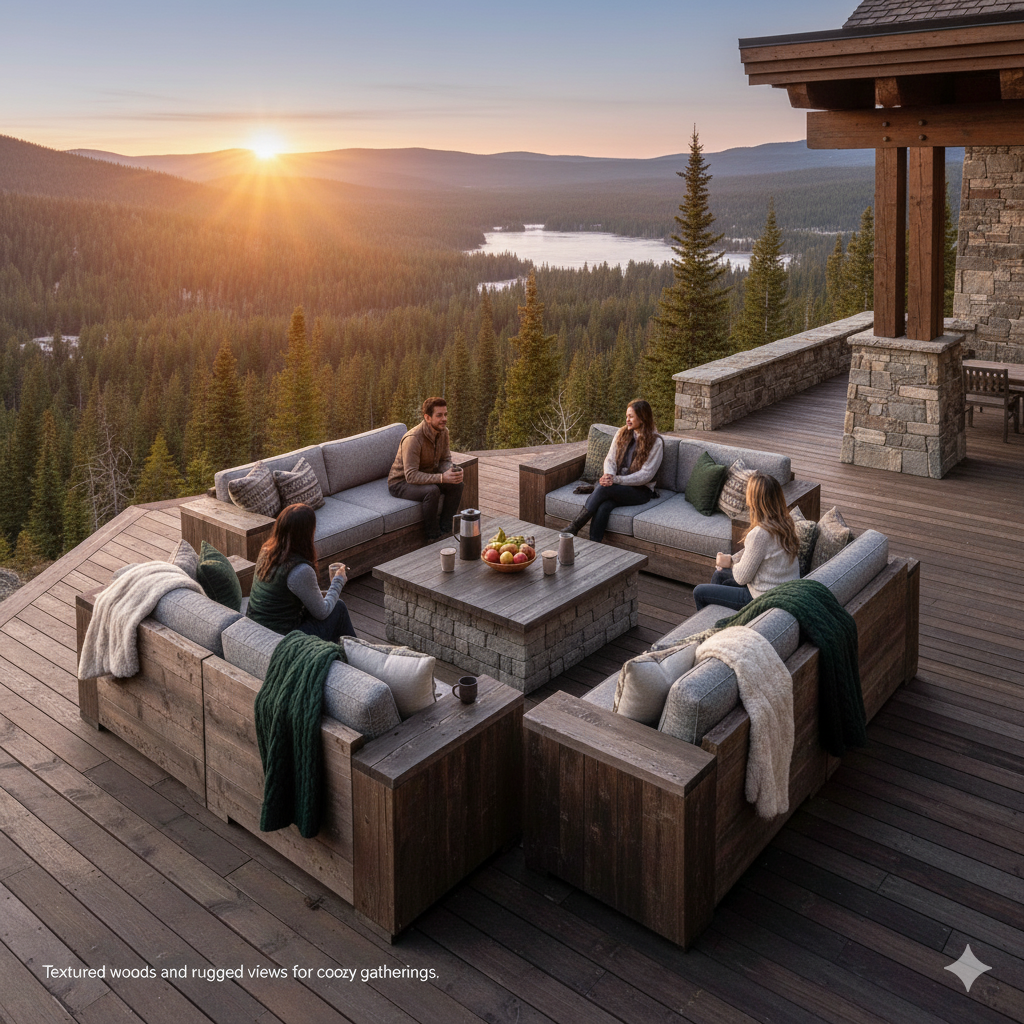
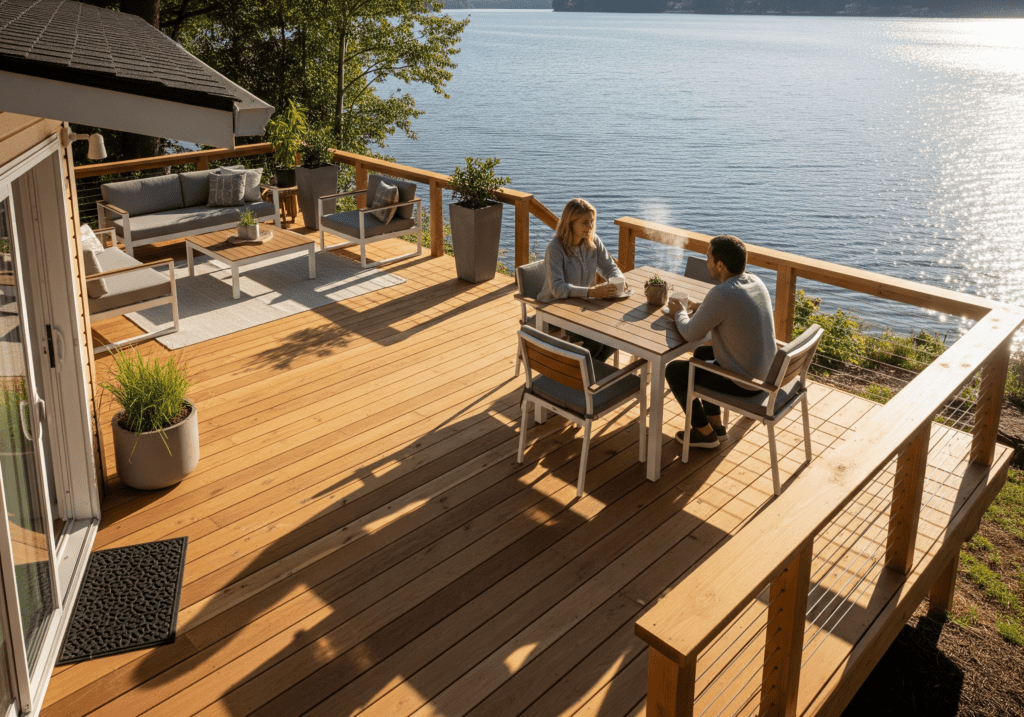
A cedar deck has a look and feel that’s hard to beat. It’s warm underfoot, lighter than pressure-treated lumber, and naturally resistant to rot and insects. When built correctly, cedar ages gracefully and feels comfortable in almost any climate.
That said, cedar is not a “build it and forget it” material. It’s softer than many alternatives and requires a tailored approach, from framing to finishing.
This guide walks you through the basics of how to build a cedar deck from start to finish.
However, for actionable, location-based bill of materials, cost estimates, and a pro-level PDF, you need the DeckMaster AI. Click on the image below to get it!

Use this guide and Best Practices on How to Build a Deck to learn the fundamentals. Use DeckMaster AI to build “your” deck with confidence.
Why Choose Cedar for Your Deck?
Cedar is popular for many good reasons, but it’s not perfect for every project.
Pros and Cons of Cedar Decking
Cedar offers several clear advantages:
- Naturally resistant to insects and decay
- Lightweight and easy to work with
- Comfortable in hot sun
- Distinctive grain and color
There are trade-offs, too:
- Softer surface dents more easily
- Higher cost than pressure-treated lumber
- Requires regular maintenance to keep its color
Cedar works best when appearance and comfort matter as much as durability.
Understanding Cedar Grades
Not all cedar boards are the same. Common grades include:
- Clear cedar, which has fewer knots and a cleaner look
- Select or premium grades, which balance appearance and cost
- Knotty cedar, which is more rustic and budget-friendly
Choose your grade based on visibility. Use higher grades where the deck is most seen and touched.
Planning Your Cedar Deck
Cedar rewards good planning. Rushing the design may lead to unexpected problems later.
Budgeting for Cedar Materials
Cedar costs more than standard treated lumber. Prices vary by region and grade. When budgeting, account for:
- Higher material costs
- Stainless or coated fasteners
- Finishing products designed for cedar
Trying to save money by cutting corners usually shortens the deck’s lifespan.
Climate and Exposure Considerations
Cedar performs differently depending on the climate.
In wet or shaded areas:
- Drying time increases
- Mold and mildew are more likely
- Maintenance becomes more important
In hot, sunny locations:
- Cedar stays cooler than many materials
- UV exposure fades color quickly without protection
Design drainage and airflow into the deck from the start.
Framing Requirements for a Cedar Deck
The decking may be cedar, but the structure underneath usually isn’t.
Using Pressure-Treated Lumber for the Frame
Cedar should not be used for structural framing. The best practice is to:
- Use pressure-treated lumber for joists, beams, and posts
- Keep cedar for deck boards, trim, and railings
- Isolate cedar from direct contact with concrete or soil
This approach is the perfect balance between strength, longevity, and cost.
Joist Spacing for Cedar Decking
Cedar is softer and more flexible than composite or hardwood. To prevent bounce:
- Use closer joist spacing
- Follow manufacturer or supplier recommendations
- Avoid pushing span limits
Tighter framing makes the deck feel solid and protects the boards over time.
Installing Cedar Deck Boards
This is where technique matters. Cedar is forgiving, but it still demands care.
Pre-Drilling and Fastening
Cedar splits easily near the board ends. To avoid problems:
- Pre-drill near ends and edges
- Use sharp bits
- Avoid over-driving screws
Fasteners should be corrosion-resistant. Stainless steel is ideal, especially in damp or coastal areas.
Board Spacing and Layout
Cedar expands and contracts with moisture. Spacing tips:
- Leave consistent gaps for drainage
- Account for board moisture at installation
- Keep boards from pressing tightly against trim or walls
Lay out boards to avoid thin slivers at edges. This improves appearance and durability.
Finishing a Cedar Deck
Finishing is optional, but skipping it changes how the deck ages.
Stains vs Sealers
You have two main options.
Transparent or semi-transparent stains:
- Highlight cedar’s natural grain
- Provide UV protection
- Require periodic reapplication
Clear sealers:
- Protect against moisture
- Allow faster color fading
- Need more frequent maintenance
If you want to keep the warm cedar color, a UV-resistant stain is the better choice.
Letting Cedar Weather Naturally
Some homeowners prefer the silver-gray patina that cedar develops over time. If you go this route:
- Skip stains and pigments
- Use a clear water-repellent if desired
- Accept uneven weathering in shaded areas
This is a valid choice, but it still requires cleaning and inspection.
Railings and Trim With Cedar
Cedar railings feel good to touch and look cohesive with the deck surface.
Cedar Railing Options
Popular styles include:
- Traditional cedar balusters
- Horizontal cedar slats
- Mixed materials with metal infill
Whatever style you choose, ensure railing posts are structurally tied into the framing, not just surface-mounted.
Fascia and Edge Details
Cedar fascia cleans up the edges of the deck and protects framing. Install fascia with:
- Proper spacing for movement
- Hidden fasteners where possible
- Consistent alignment at corners
Clean edges make a big visual difference with cedar.
Maintenance and Long-Term Care
Cedar decks last when they’re cared for. Neglect shortens their life quickly.
Routine Maintenance Tasks
Plan to:
- Clean the deck annually
- Remove debris from gaps
- Inspect fasteners and railings
- Reapply stain or sealer as needed
Maintenance is not difficult, but it has to be regular.
Preventing Common Cedar Deck Issues
Watch for:
- Raised grain and splintering
- Fasteners backing out
- Mold in shaded areas
Light sanding and early repairs keep small problems from becoming major ones.
Common Mistakes to Avoid
Most cedar deck problems are preventable. Avoid:
- Using cedar for structural framing
- Skipping pre-drilling
- Installing boards too tight
- Ignoring finishing and maintenance
Cedar rewards patience and attention to detail.
Final Thoughts
A cedar deck feels different from other decks. It’s warmer, lighter, and more connected to its surroundings. When built with proper framing, careful installation, and realistic maintenance expectations, cedar delivers both beauty and comfort.
If you respect the material and build with intention, a cedar deck becomes more than just an outdoor platform. It becomes a space people want to use, year after year.
Combine the knowledge you gain here with that on my other post, How to Build a Detached Deck: A Practical Guide, and you are set to build an awesome Detached Cedar Deck!