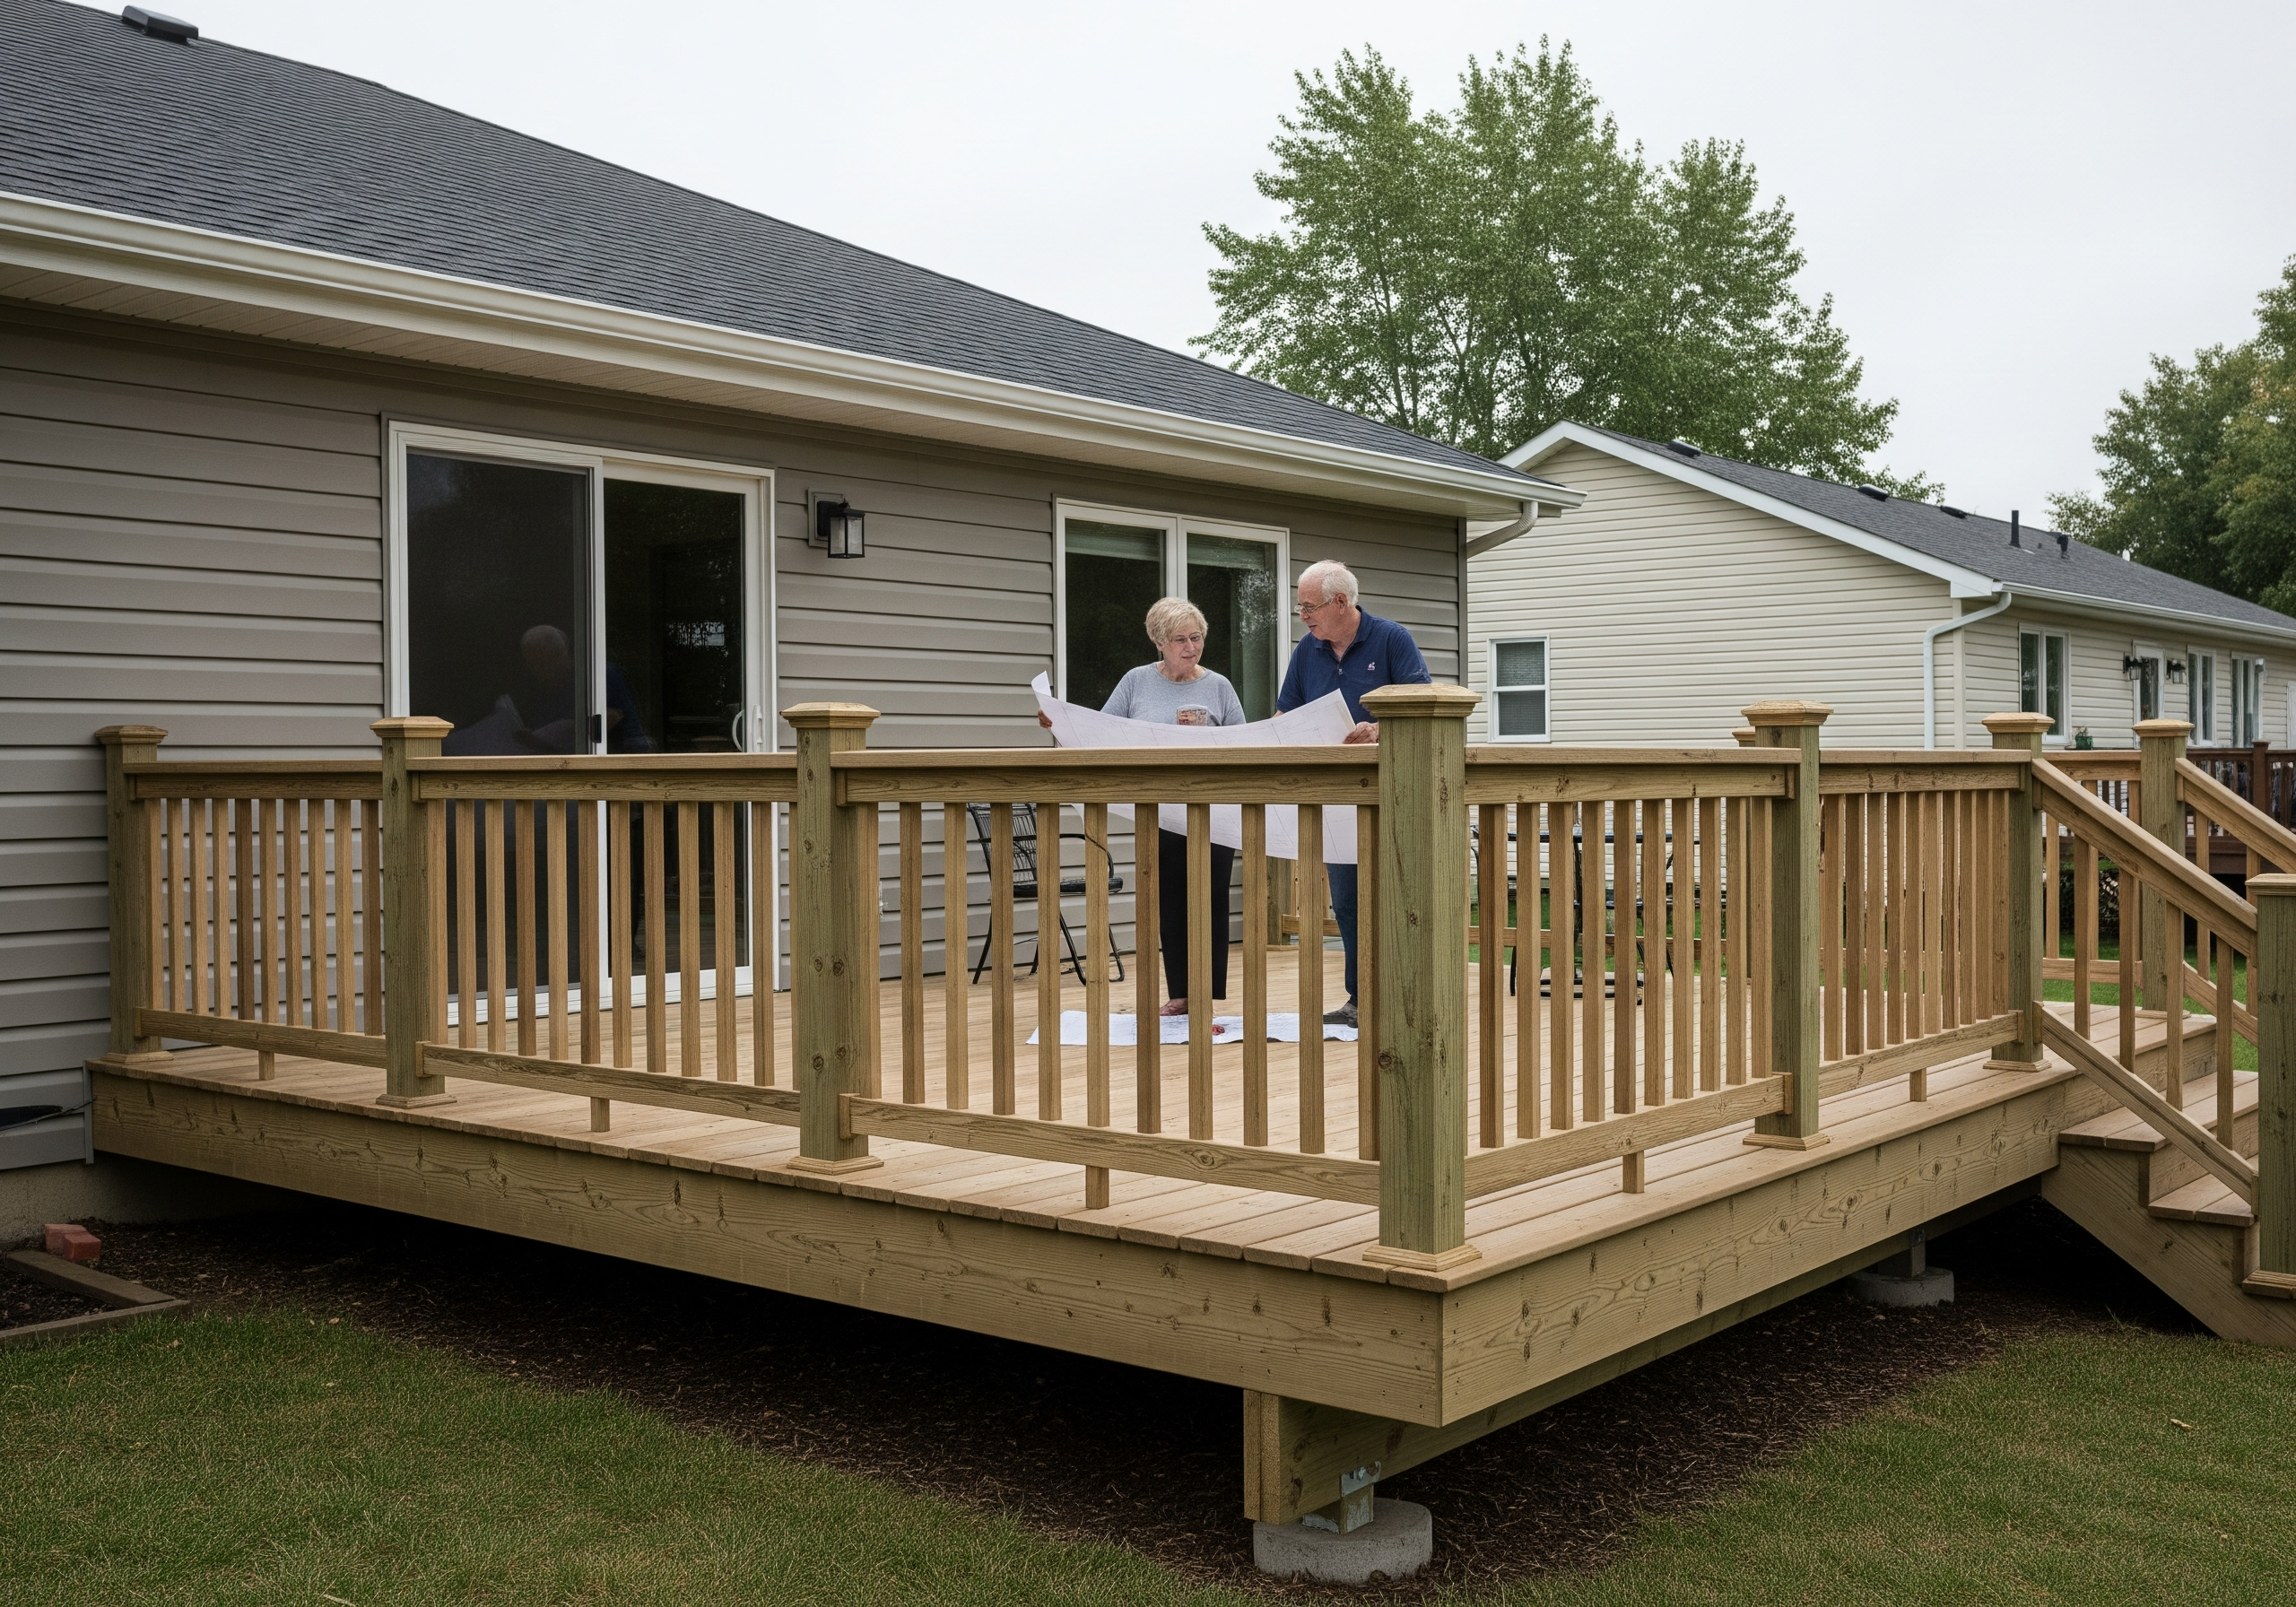
How to Build an Attached Deck? Safe Ledger Connection is Critical!
An attached deck is one of the most common deck styles, and for good reason. It feels like a natural extension of the house. It’s easy to access, efficient to build, and often costs less than a freestanding design.

At the same time, attached decks carry real risk if they’re built incorrectly. Most serious deck failures trace back to one issue: a bad ledger connection. When water gets behind the ledger or fasteners are undersized, problems follow.
This guide walks you through the basics of how to build an attached deck from start to finish.
However, for actionable, location-based bill of materials, cost estimates, and a pro-level PDF, you need the DeckMaster AI. Click on the image below to get it!

Use this guide and Best Practices on How to Build a Deck to learn the fundamentals. Use DeckMaster AI to build “your” deck with confidence.
Table of Contents
What Is an Attached Deck?
The house supports an attached deck on one side and posts or beams on the other. The connection to the home is made using a ledger board that transfers part of the deck’s load into the house structure.
This design creates a strong, efficient layout, but it also means the deck depends on proper attachment, flashing, and waterproofing.
When built correctly, an attached deck feels like a natural extension of the house. However, when built poorly, it can lead to serious structural and moisture problems.
How Attached Decks Differ From Detached Decks
The key difference between an attached and detached deck is the ledger board.
Attached decks:
- Use a ledger board bolted to the house
- Rely on the home’s structure for part of the load
- Require careful flashing and waterproofing
Detached decks support themselves entirely. Attached decks must work in harmony with the house.
When an Attached Deck Makes Sense
Attached decks are a good option when:
- The house framing is accessible and sound
- You want direct access from interior doors
- The deck height aligns well with floor levels
They may not be appropriate for homes with brick veneer, cantilevered floors, or unknown framing conditions.
How to Build an Attached Deck? Planning and Permits
Attached decks almost always require permits and inspections.
Checking Local Codes and Requirements
Most codes address:
- Ledger attachment methods
- Fastener size and spacing
- Guardrail and stair requirements
- Lateral load connections
Inspectors tend to be more thorough as the deck ties into the house.
Evaluating the House Structure
Before design begins, confirm:
- The rim joist is solid and accessible
- The house framing can accept a ledger
- There are no utilities in the attachment area
If you’re unsure, open the wall and inspect. Guessing here is risky.
Understanding the Ledger Board
The ledger board is the most critical component of an attached deck.
What a Ledger Board Does
The ledger:
- Transfers deck loads into the house structure
- Supports one side of the joists
- Must resist vertical and lateral forces
If the ledger fails, the deck can pull away from the house.
Common Ledger Failures
Most failures are caused by:
- Missing or improper flashing
- Undersized fasteners
- Rot behind the ledger
- Attaching through siding instead of structural framing
Every ledger detail matters.
Installing the Ledger Board Correctly
This step deserves extra attention and patience.
Flashing and Waterproofing
Flashing keeps water out of the house.
Proper flashing includes:
- Metal or approved flexible flashing behind the ledger
- Flashing that extends above and over the ledger
- Integration with the house’s water-resistive barrier
Never rely on caulk alone. It will fail.
Fasteners and Spacing
Ledger fasteners must be code-approved and spaced correctly.
Typical requirements include:
- Structural lag screws or through-bolts
- Fasteners driven into solid framing
- Consistent spacing based on joist span
Follow the manufacturer and code tables exactly.
Framing the Attached Deck
Once the ledger is installed, the rest of the frame comes together quickly.
Beams, Posts, and Load Paths
The deck must transfer loads safely to the ground.
That means:
- Beams sized for the deck span
- Posts placed on proper footings
- A clear load path from the deck surface to the soil
Do not rely on the house for vertical support beyond the ledger.
Joist Installation and Blocking
Joists hang from the ledger using rated joist hangers.
Good practices include:
- Using the correct hanger for joist size
- Fully nailing or screwing each hanger
- Adding blocking to reduce bounce
A stiff frame protects the ledger over time.
Decking Installation
Deck boards finish the surface, but they also affect drainage and durability.
Board Layout and Spacing
Plan layout before fastening.
Consider:
- Board direction relative to the house
- Clean transitions at stairs and edges
- Proper spacing for drainage and expansion
Avoid tight gaps against siding or trim.
Fastening Methods
Both face fastening and hidden fasteners can work.
Use:
- Exterior-rated fasteners
- Manufacturer-approved systems
- Consistent fastening patterns
Loose boards create movement that stresses the frame.
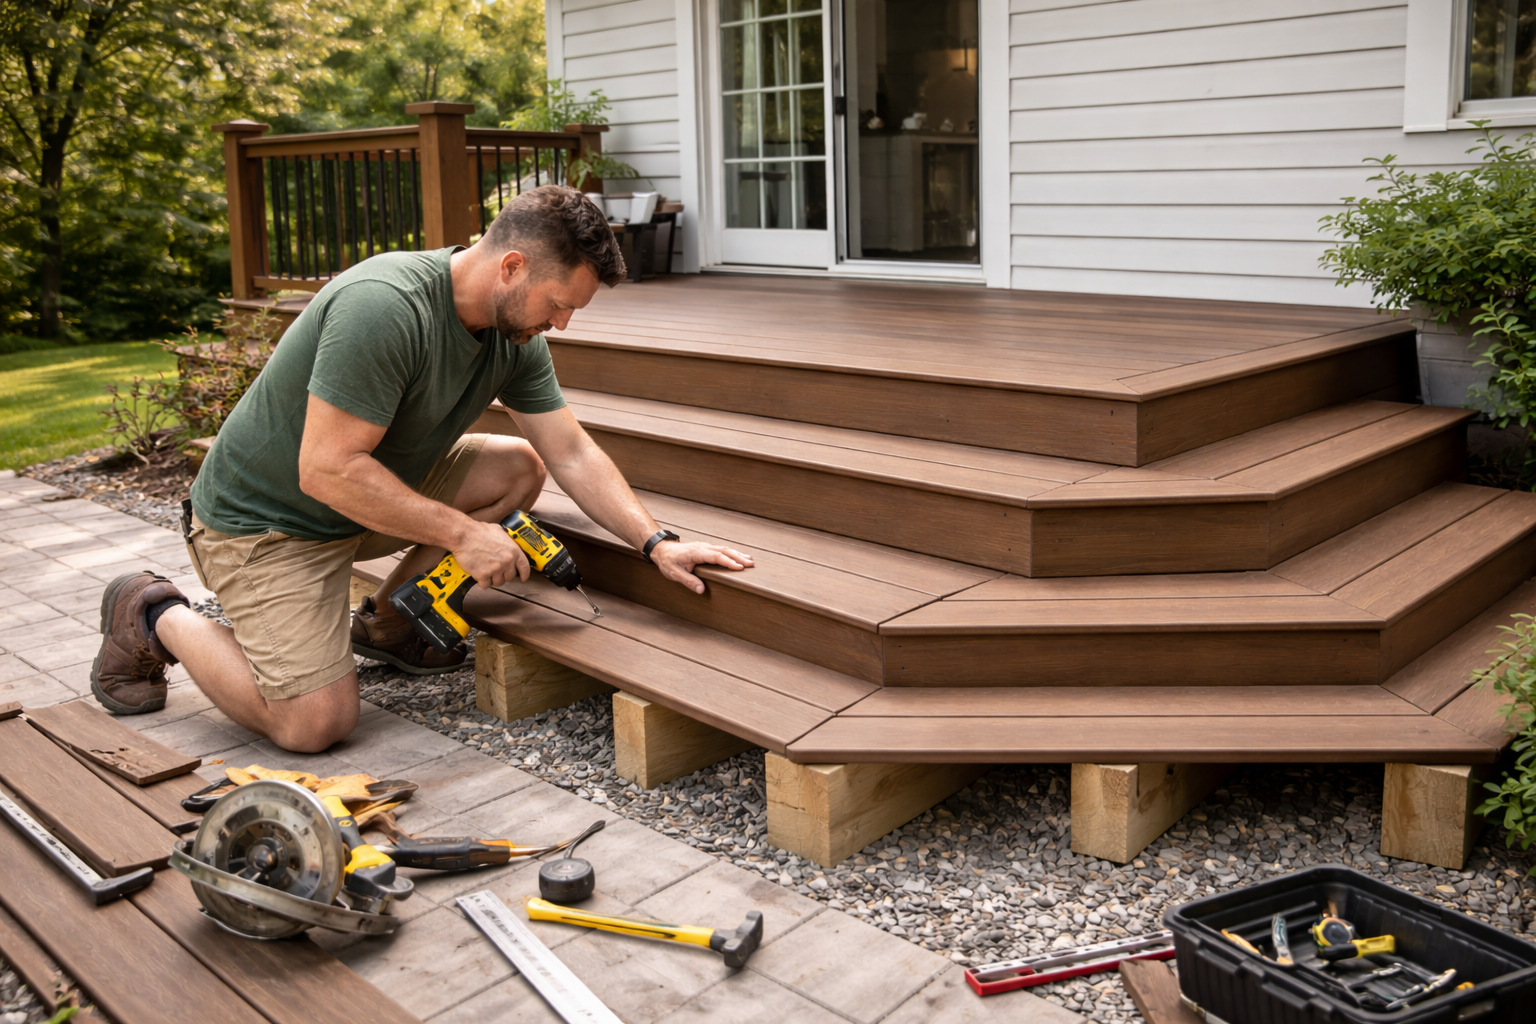
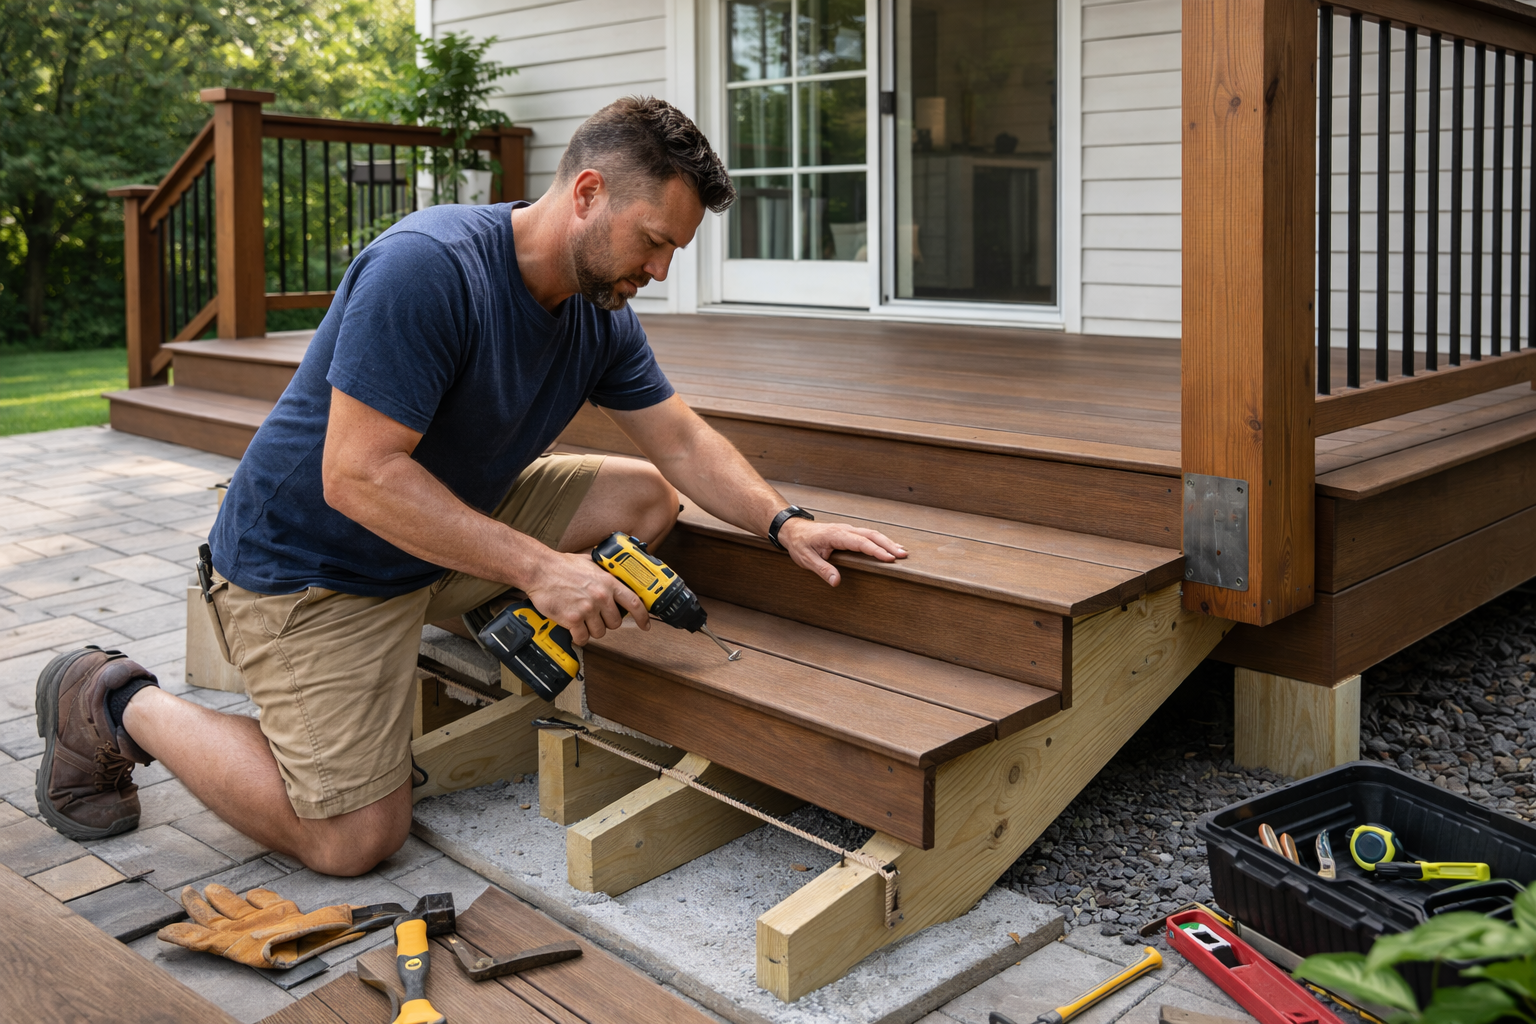
Stairs and Railings
Attached decks often sit higher than grade, making stairs and railings essential.
Stair Design and Placement
Stairs should align with walking paths.
Make sure:
- Rise and run are consistent
- Stringers are properly supported
- Landings are level and secure
Stairs should feel natural, not steep or cramped.
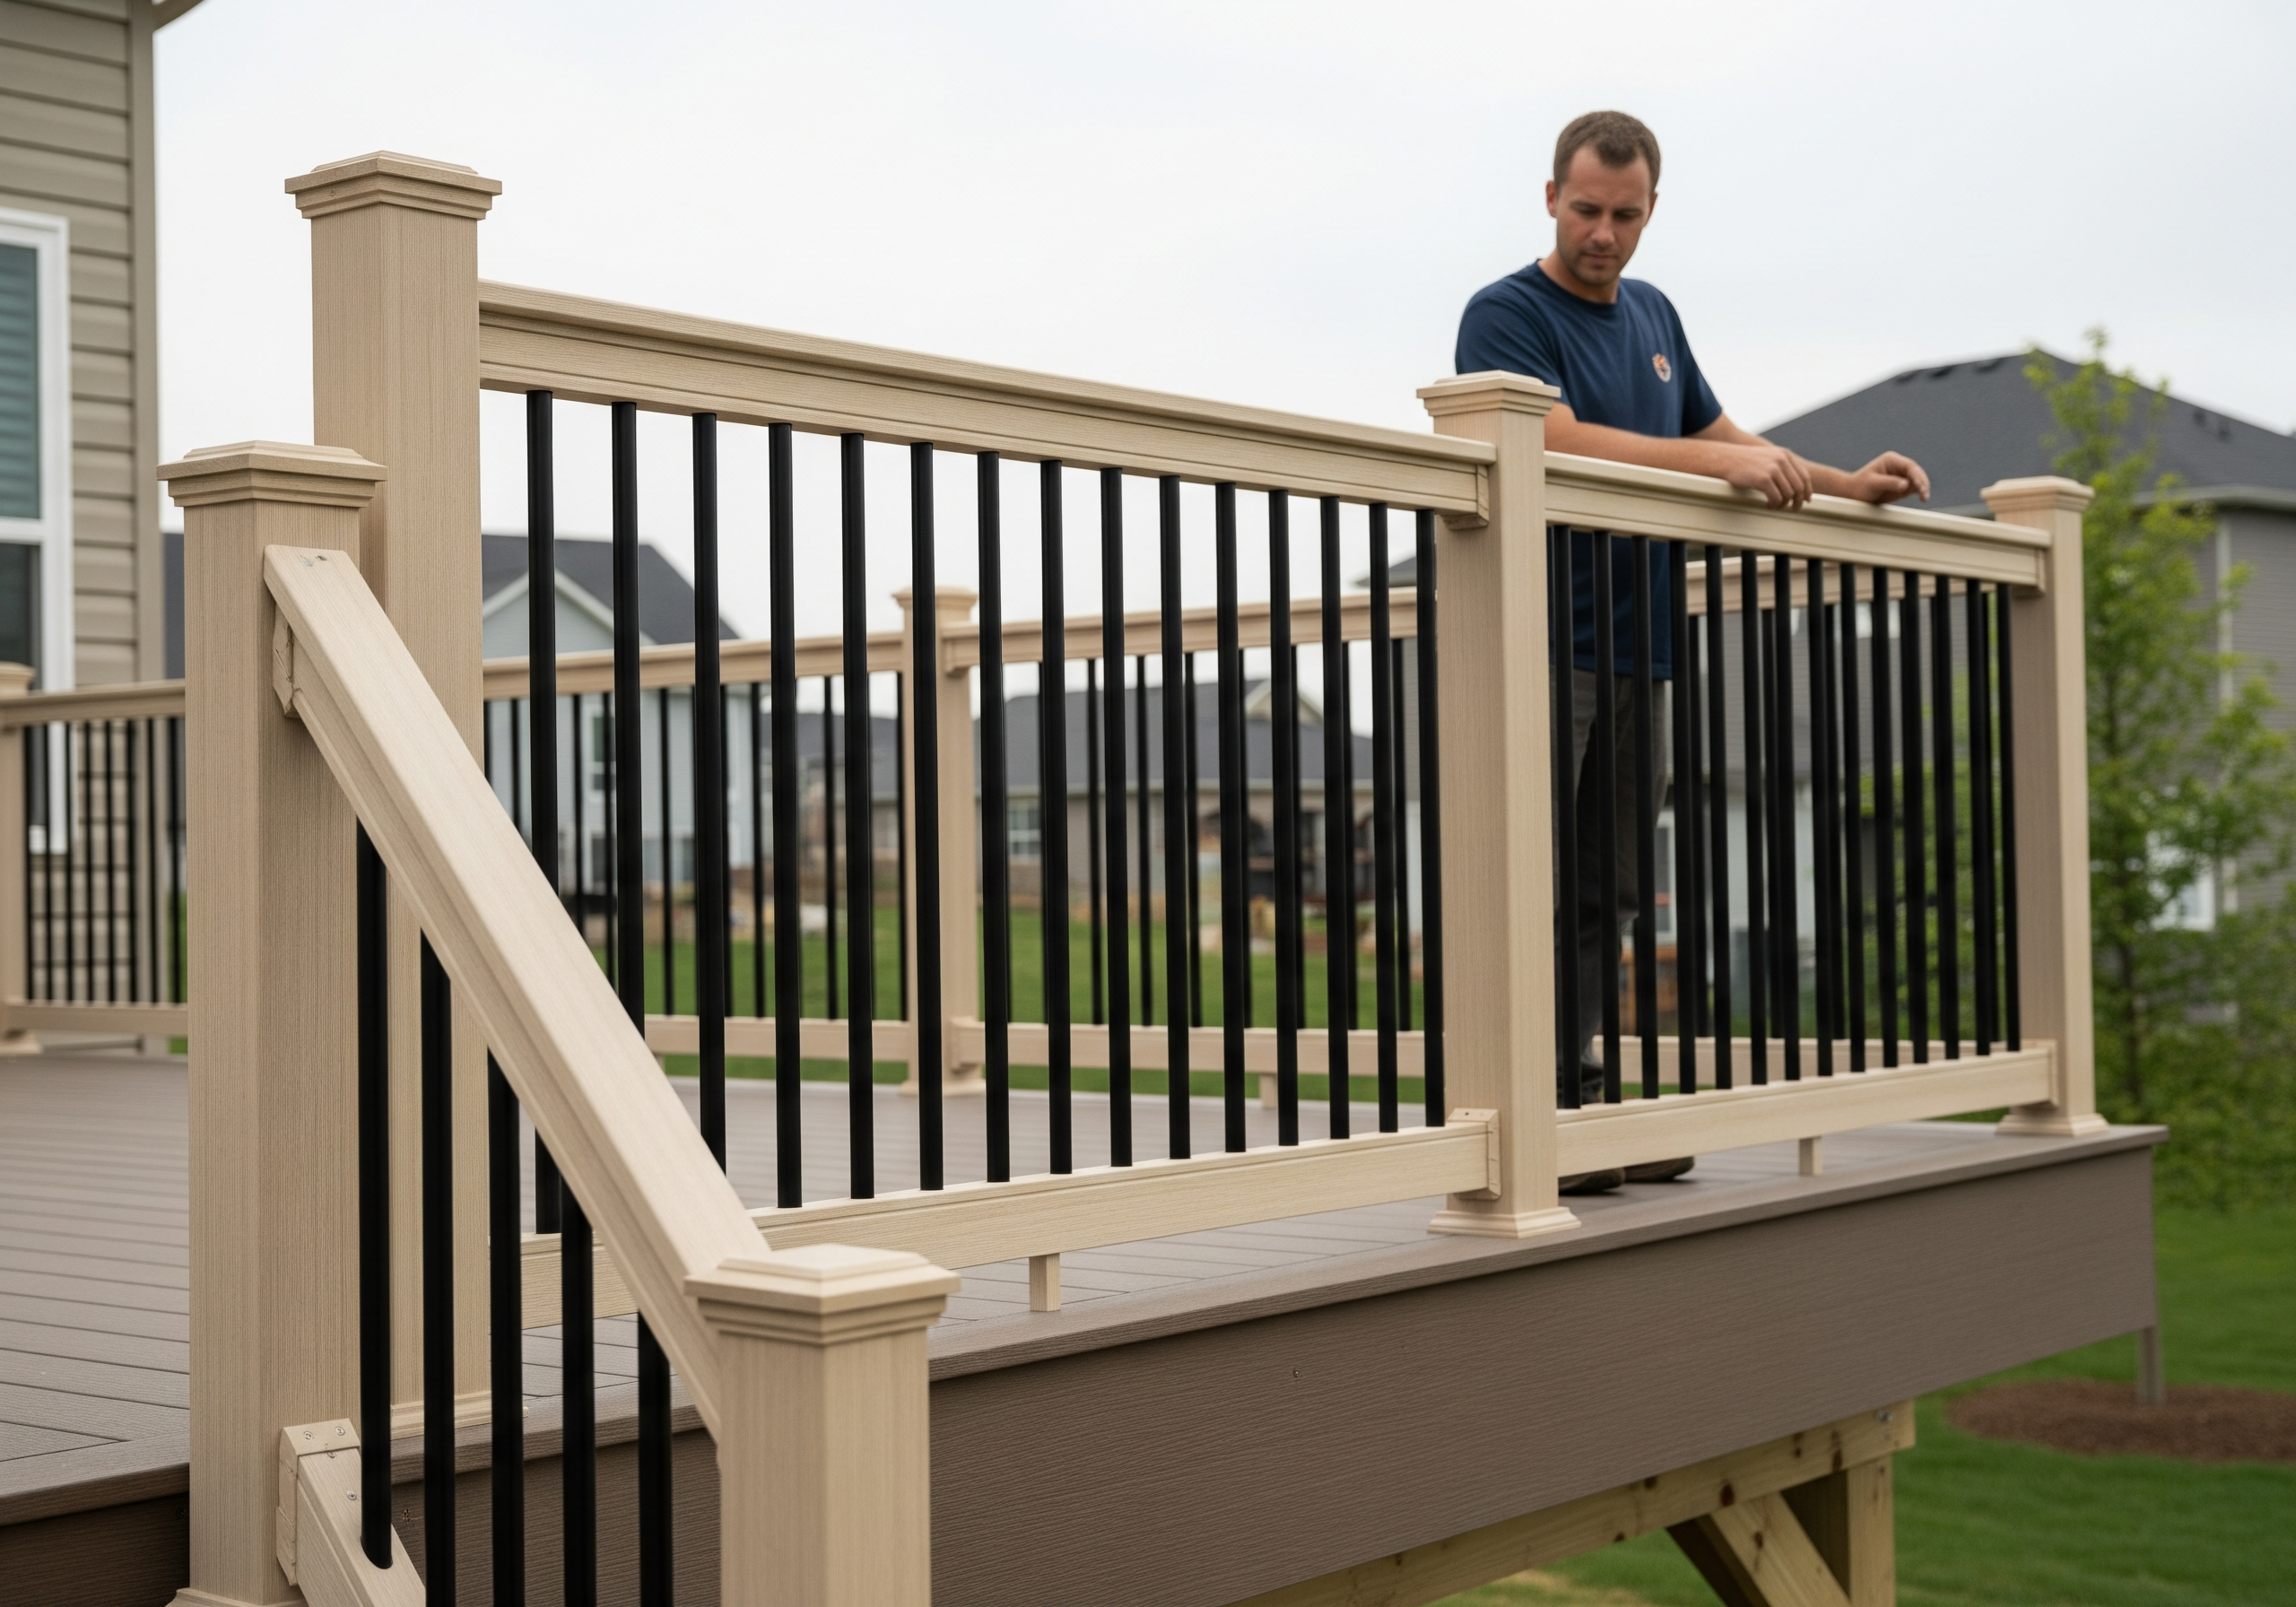
Guardrails and Handrails
Guardrails protect people. Handrails guide movement.
Most codes require:
- Guardrails above a certain height
- Specific baluster spacing
- Continuous handrails on stairs
Posts must be tied into framing, not just deck boards.
Finishing Details
Small details help protect the house and improve longevity.
Fascia and House Transitions
Fascia boards clean up exposed framing.
At the house:
- Maintain a small gap between deck boards and siding
- Avoid trapping debris or moisture
- Inspect flashing edges regularly
The deck should never trap water against the house.
Lighting and Accessories
Low-voltage lighting improves safety.
Good locations include:
- Stair treads
- Entry points
- Walking paths near doors
Plan wiring early to avoid surface-mounted fixes later.
Maintenance and Long-Term Safety
Attached decks need ongoing attention, especially at the ledger.
Routine Inspections
At least once a year:
- Inspect flashing and ledger fasteners
- Look for signs of water intrusion
- Check railings and stairs for movement
Early detection prevents serious damage.
Managing Moisture at the House Connection
Keep the area clean and dry.
That means:
- Clearing leaves and debris
- Maintaining sealants and finishes
- Addressing rot immediately if found
Water seepage at the house and deck connection is the biggest long-term risk.
Common Mistakes to Avoid
Attached decks fail when details are ignored.
Avoid:
- Attaching through siding
- Skipping flashing
- Using undersized fasteners
- Assuming the house can carry an extra load
If something feels questionable, stop and verify.
Final Thoughts
A well-built attached deck feels like part of the home, not an afterthought. It’s solid underfoot, dry at the ledger, and safe for daily use. The key is respecting the connection between the deck and the house.
When the ledger is installed correctly and the structure is sound, an attached deck becomes one of the most practical and enjoyable outdoor spaces you can build.